Web Forms
Web Forms
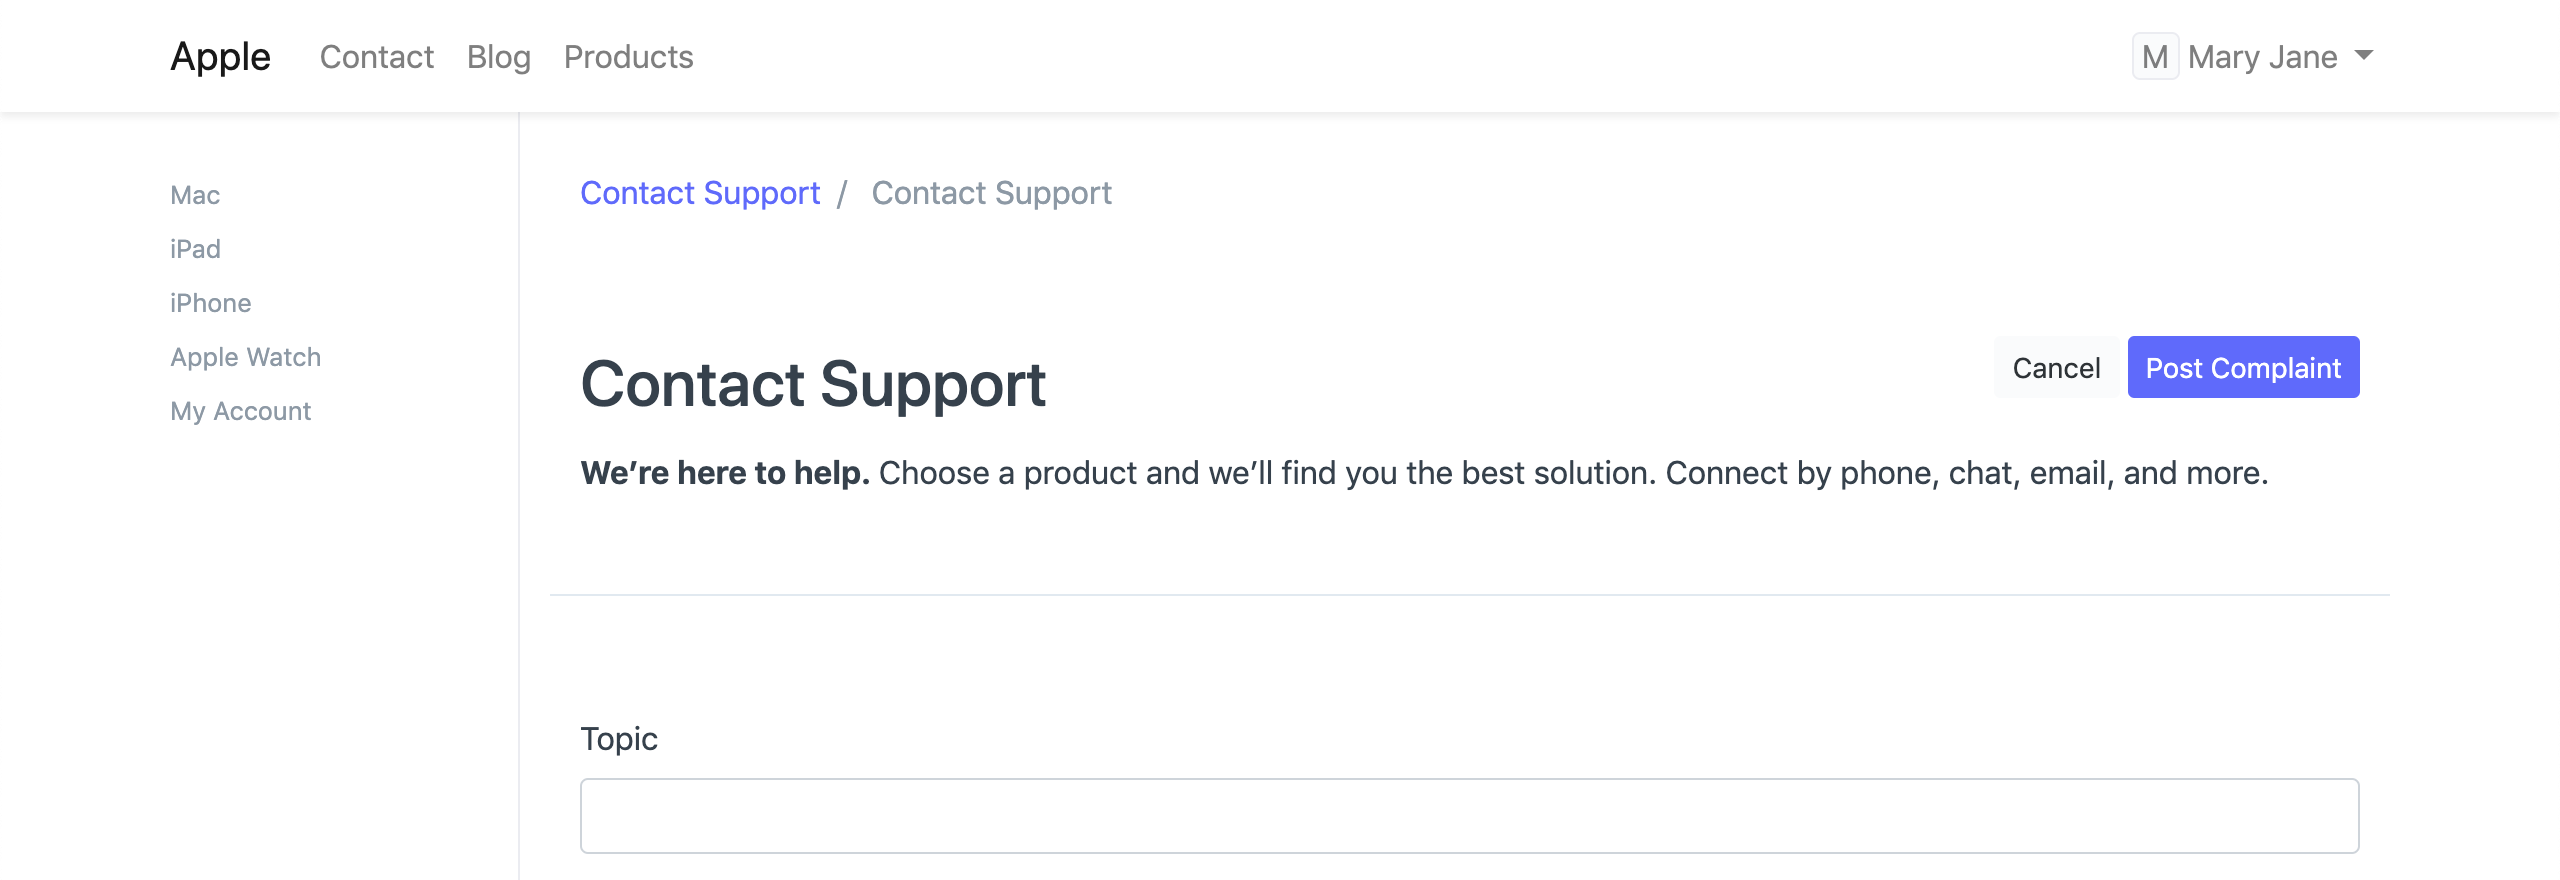
It's possible that external stakeholders will need to communicate with your ERPNext instance. Customers, suppliers, job candidates, students, and guardians can all be given permission to see particular information or even carry out specific transactions. You might allow anyone to register on your website (which was made with ERPNext) and submit a job application, for instance. You can allow your clients to view the specifics of the complaints they've filed. Web forms can be used to complete these.
With ERPNext, there are two different kinds of built-in interfaces. both the Web View and the Desk View. Desk is for users who interact with the ERPNext instance frequently, such as staff members from your company.
Users that occasionally need to communicate with an ERPNext instance should use Web View. The forms you typically fill out on different websites on the internet are comparable to web forms. In ERPNext, webforms are a component of the Web View interface.
To create a new Web Form go to:
Home > Website > Web Site > Web Form
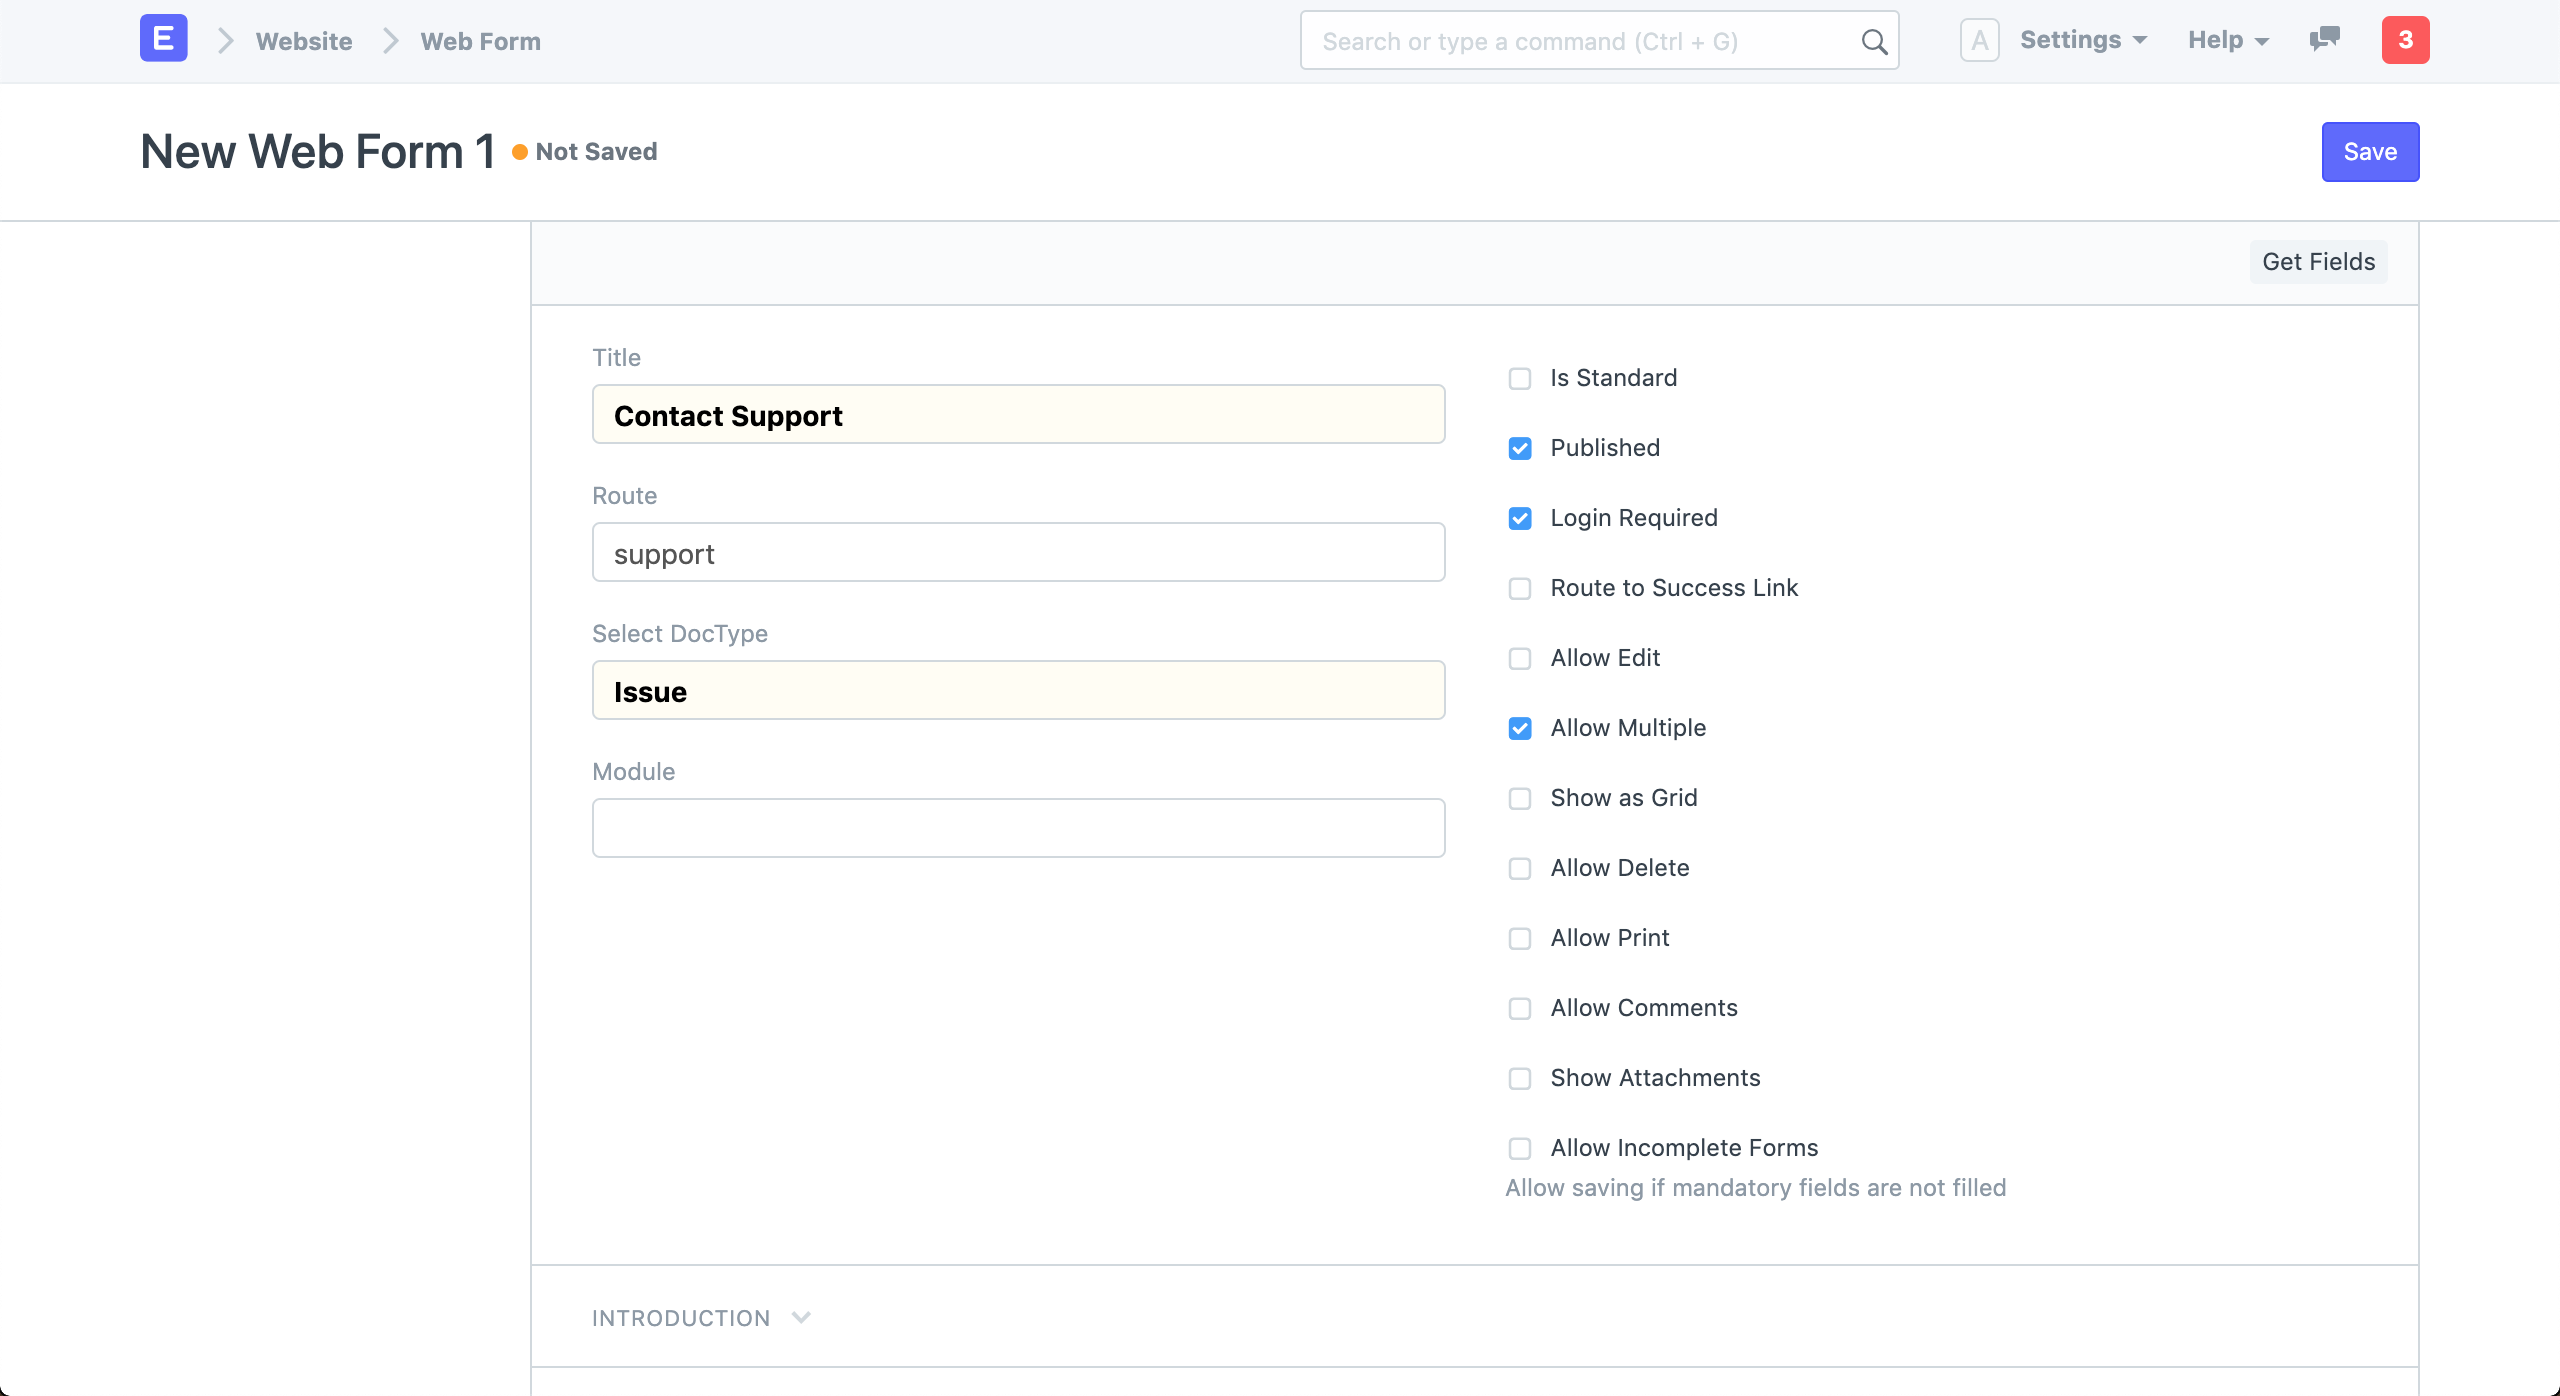
Choose the DocType that will serve as the foundation for your Web Form. The Title of your Online Form will be used to determine the Routing. Moreover, you may include an Introductory text to display a welcoming greeting above your form.
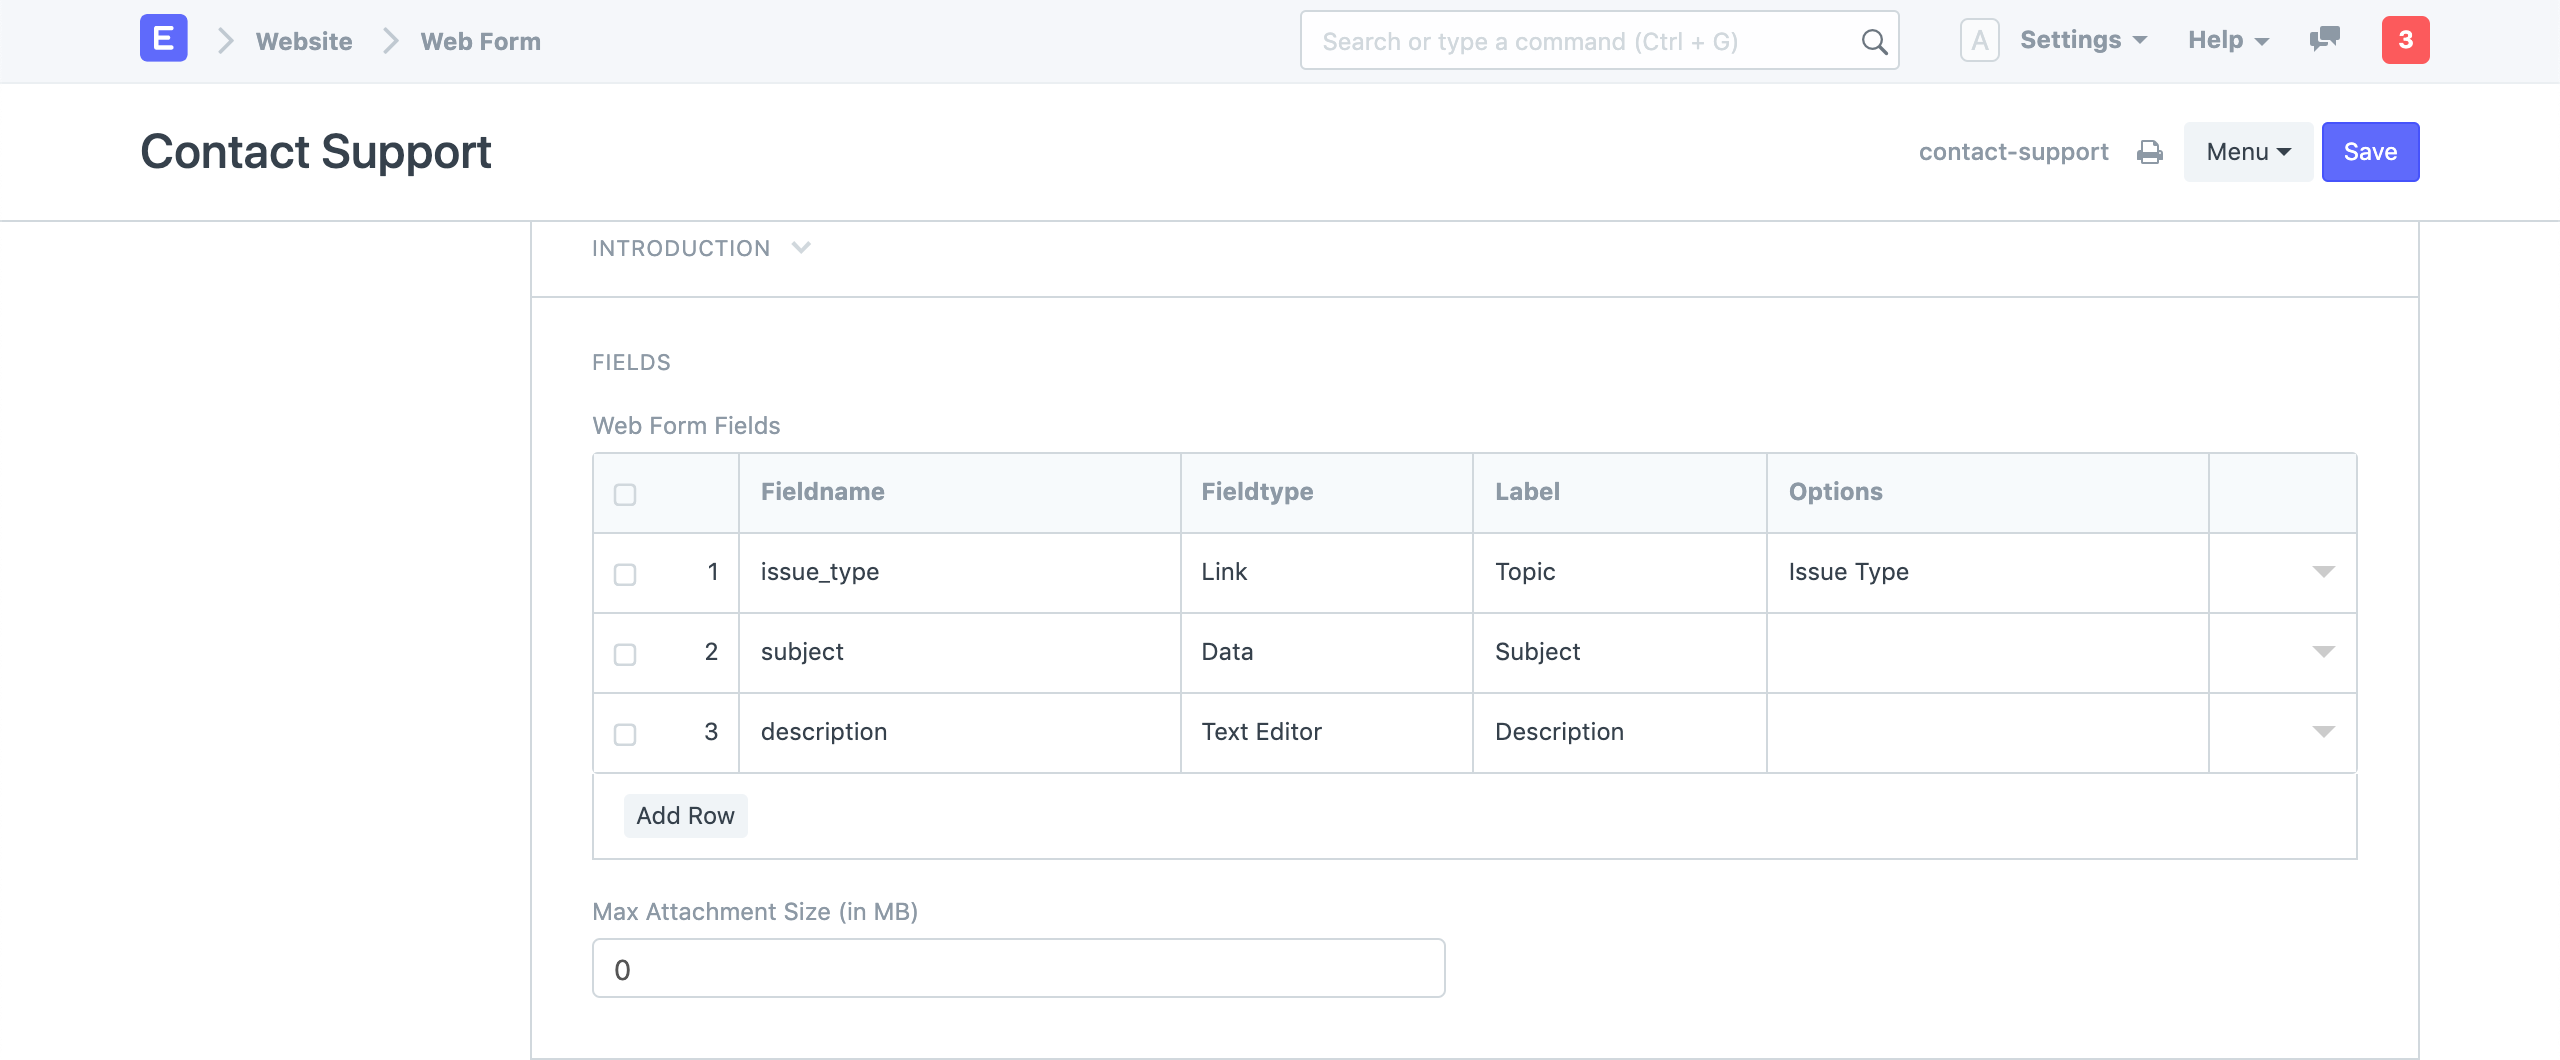
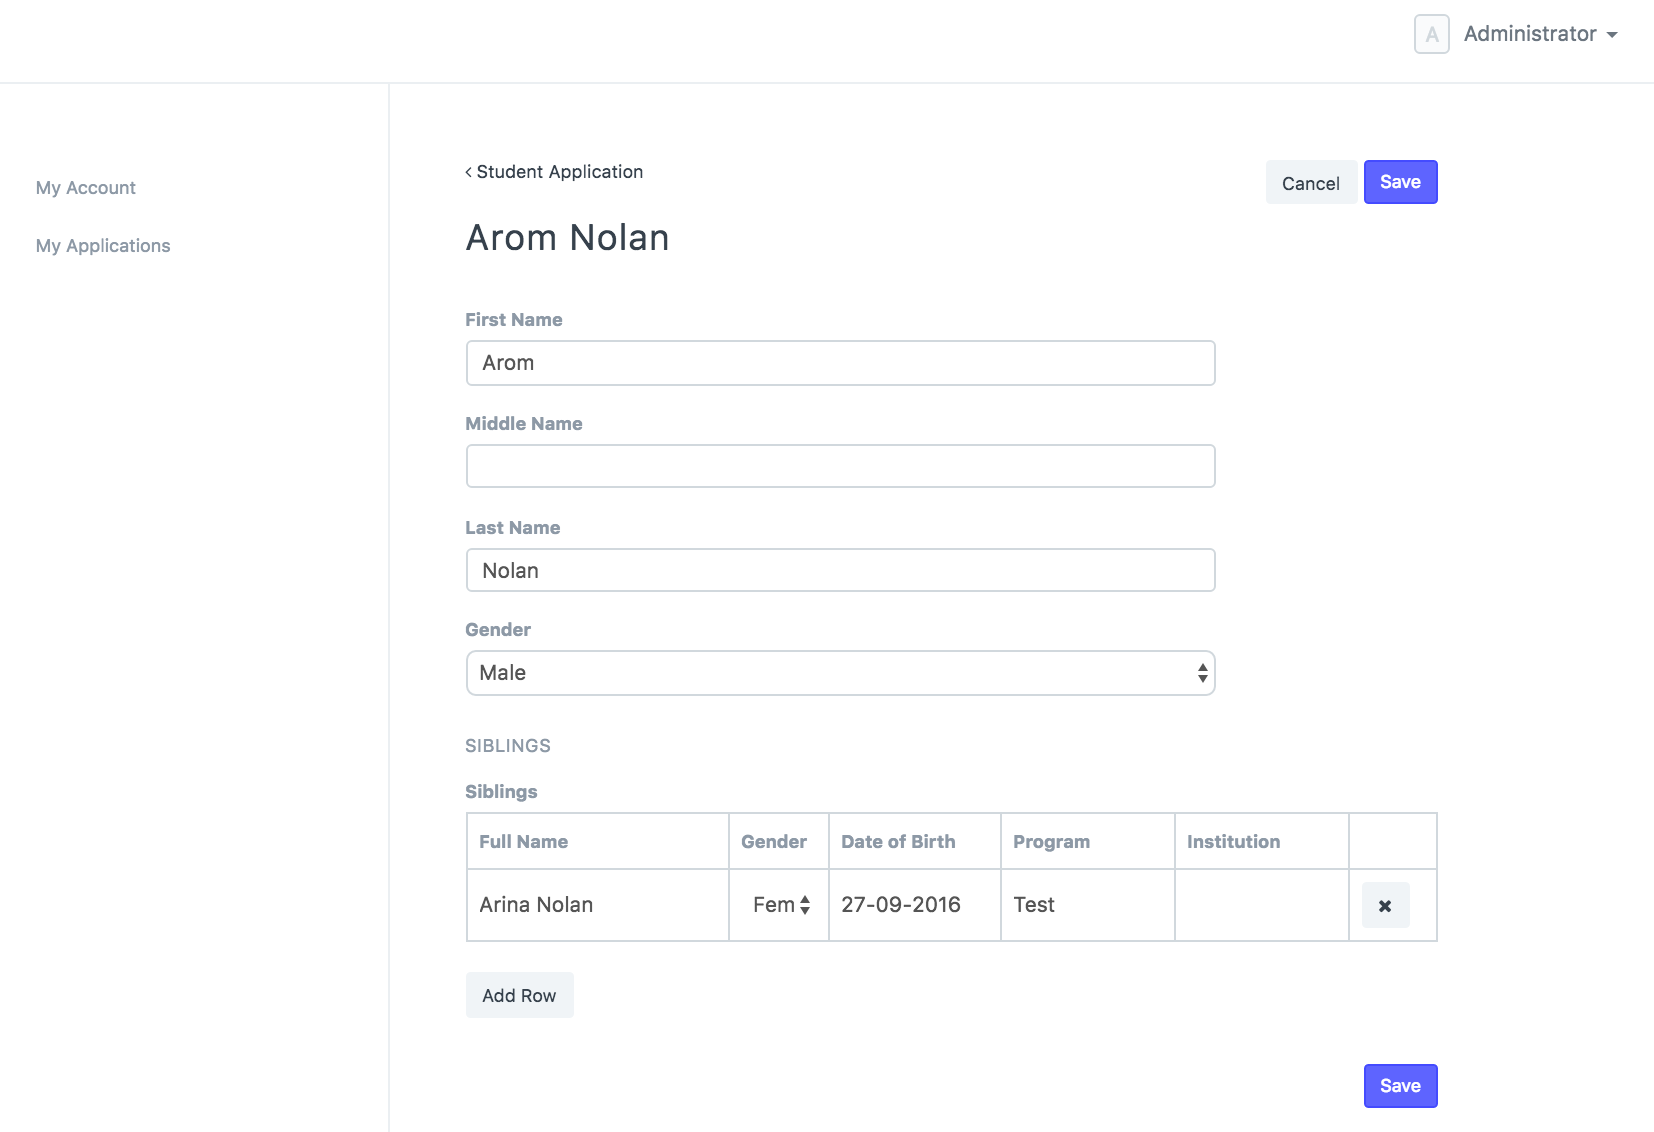
Your web form should include fields. The fields from the DocType that you choose are listed below. For these fields, you can alter the Label. While long forms are difficult to fill out, try to restrict the number of fields to a minimum.
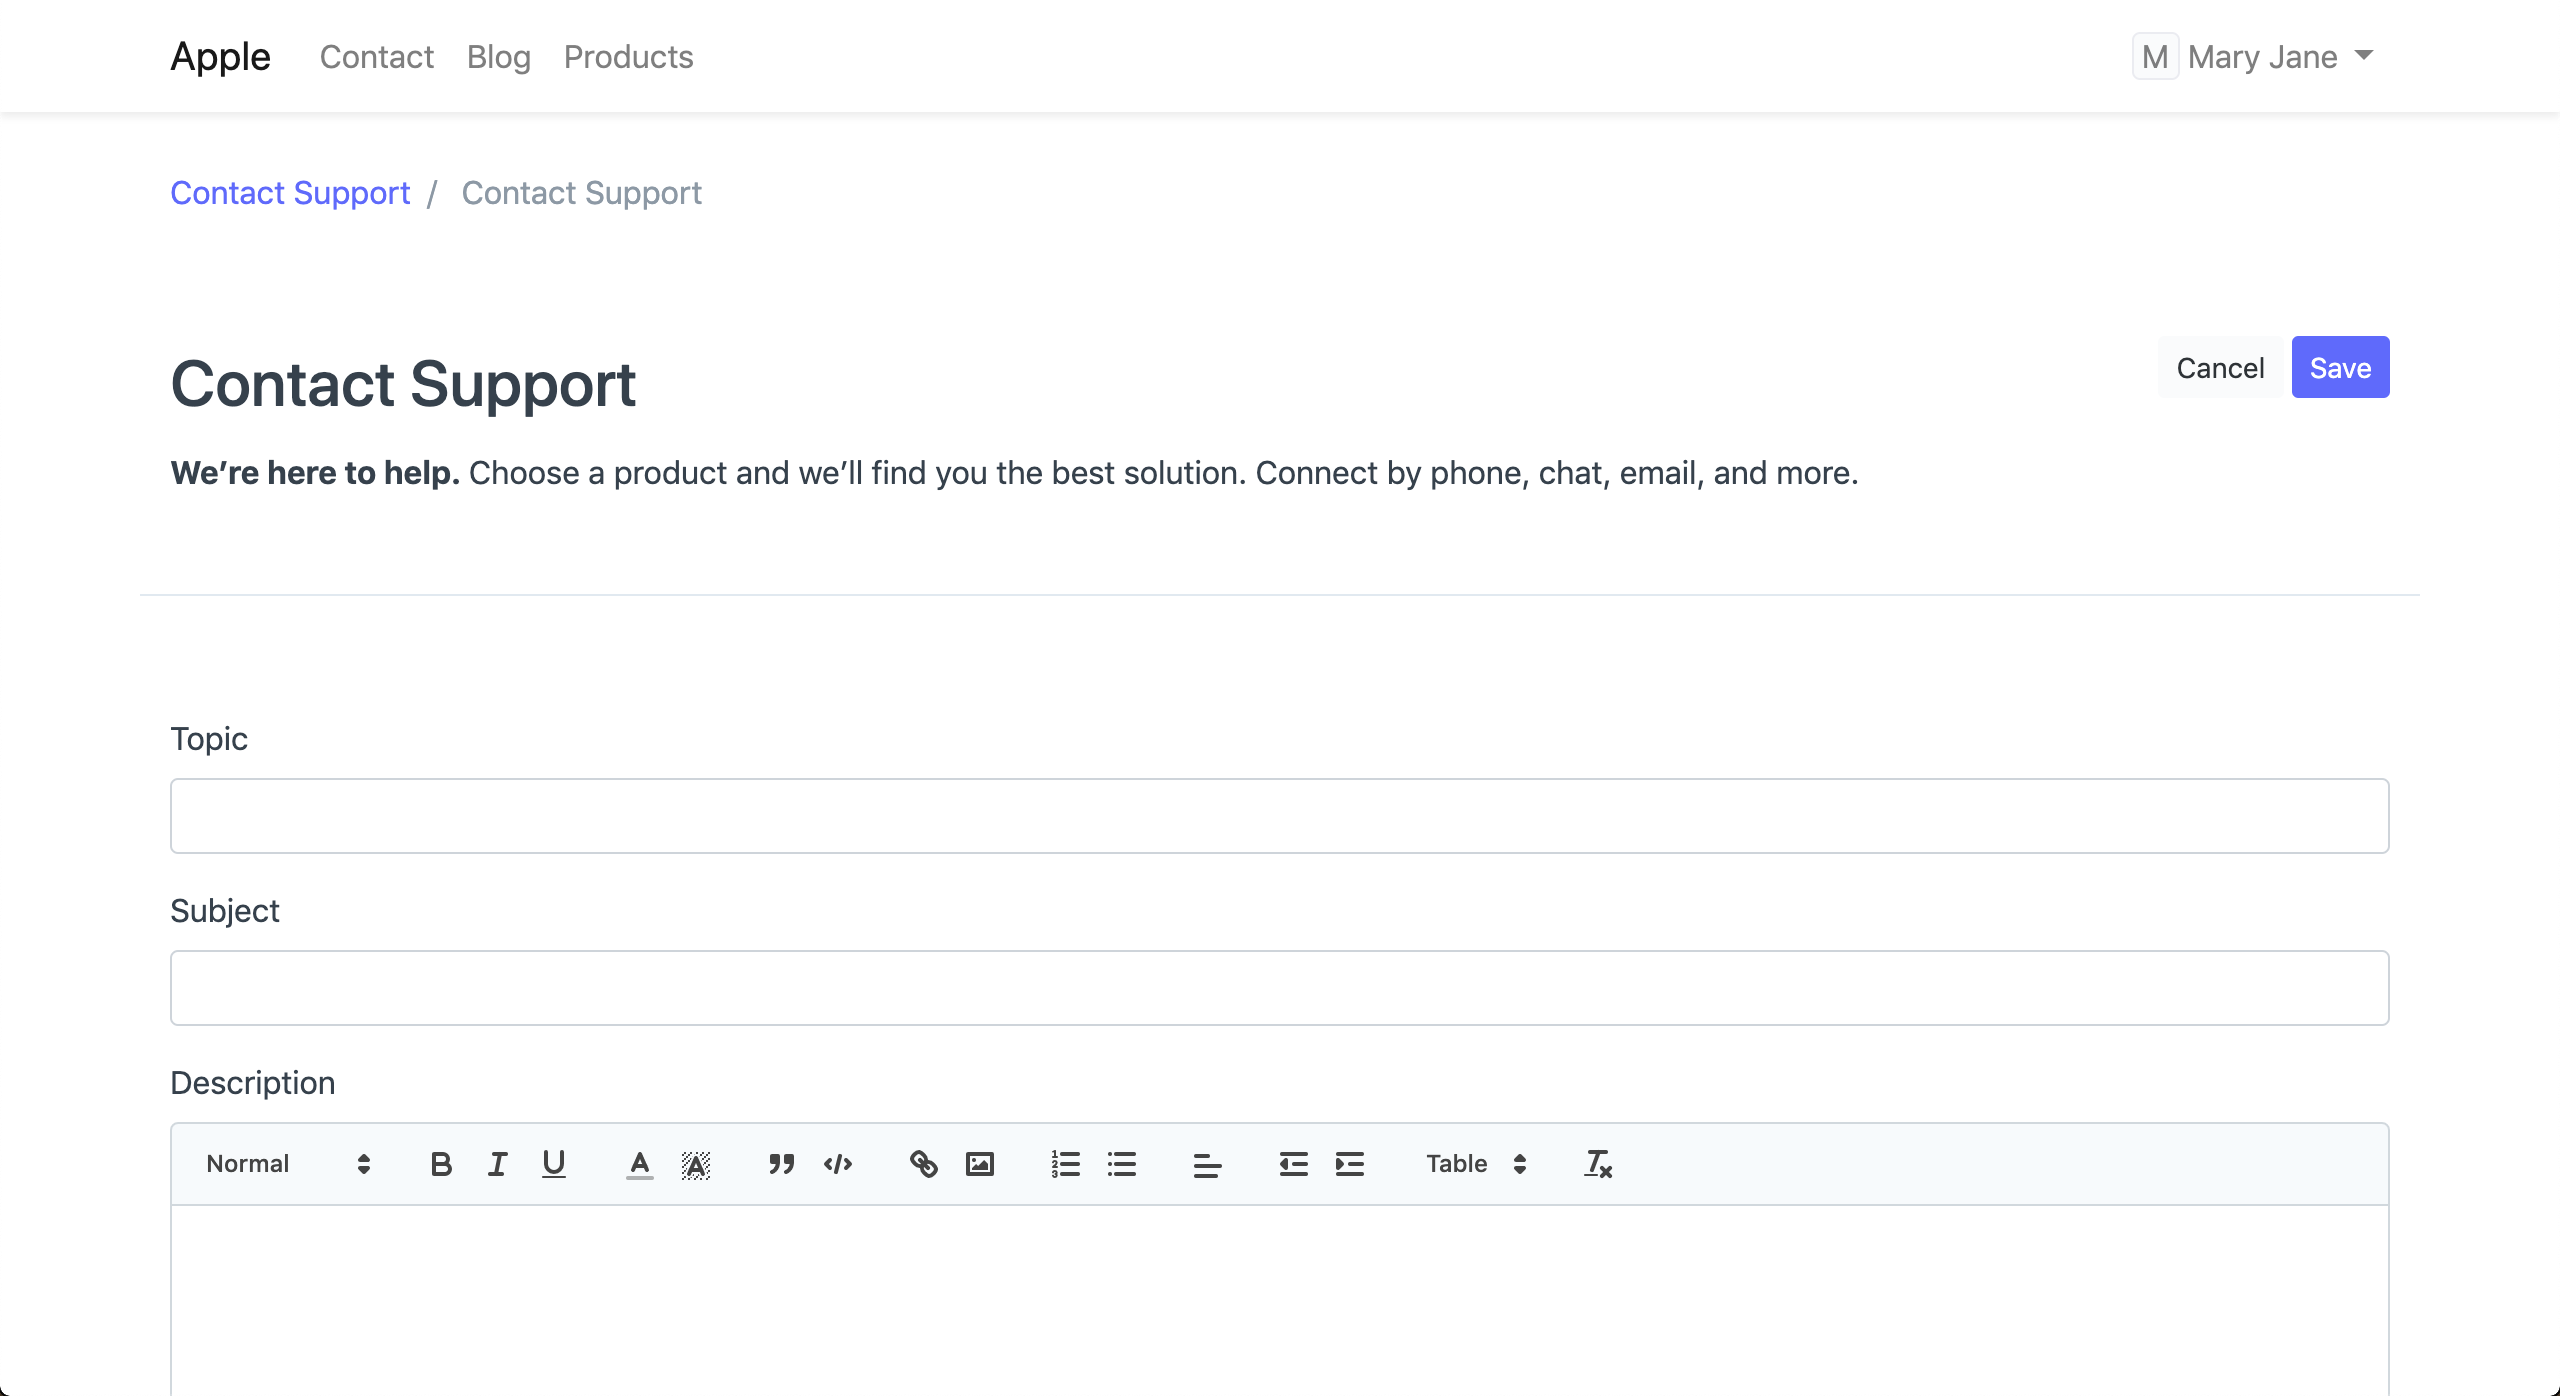
To view your Web form, click the View on Website link in the sidebar.
Each of the checkboxes on the right is described below.
- Published: Only if this is enabled will Web Form be usable.
- Login Required: User must be logged in in order to fill out the web form. Login Needed is selected when
- Route to Success Link: After submitting the form, go to Success Link.
- Allow Edit: If option is left unchecked, the form will be saved as read-only.
- Allow Multiple: Let the user to create multiple records.
- Show as Grid: Display data in a table format.
- Allow Delete: Let the user to delete the records they have made.
- Allow Comments: Let users to make comments on the form they created.
- Allow Print: enabling printing of the document using the user's chosen printing format
- Allow Incomplete Forms: Let user to enter incomplete data on the form.
2. Features
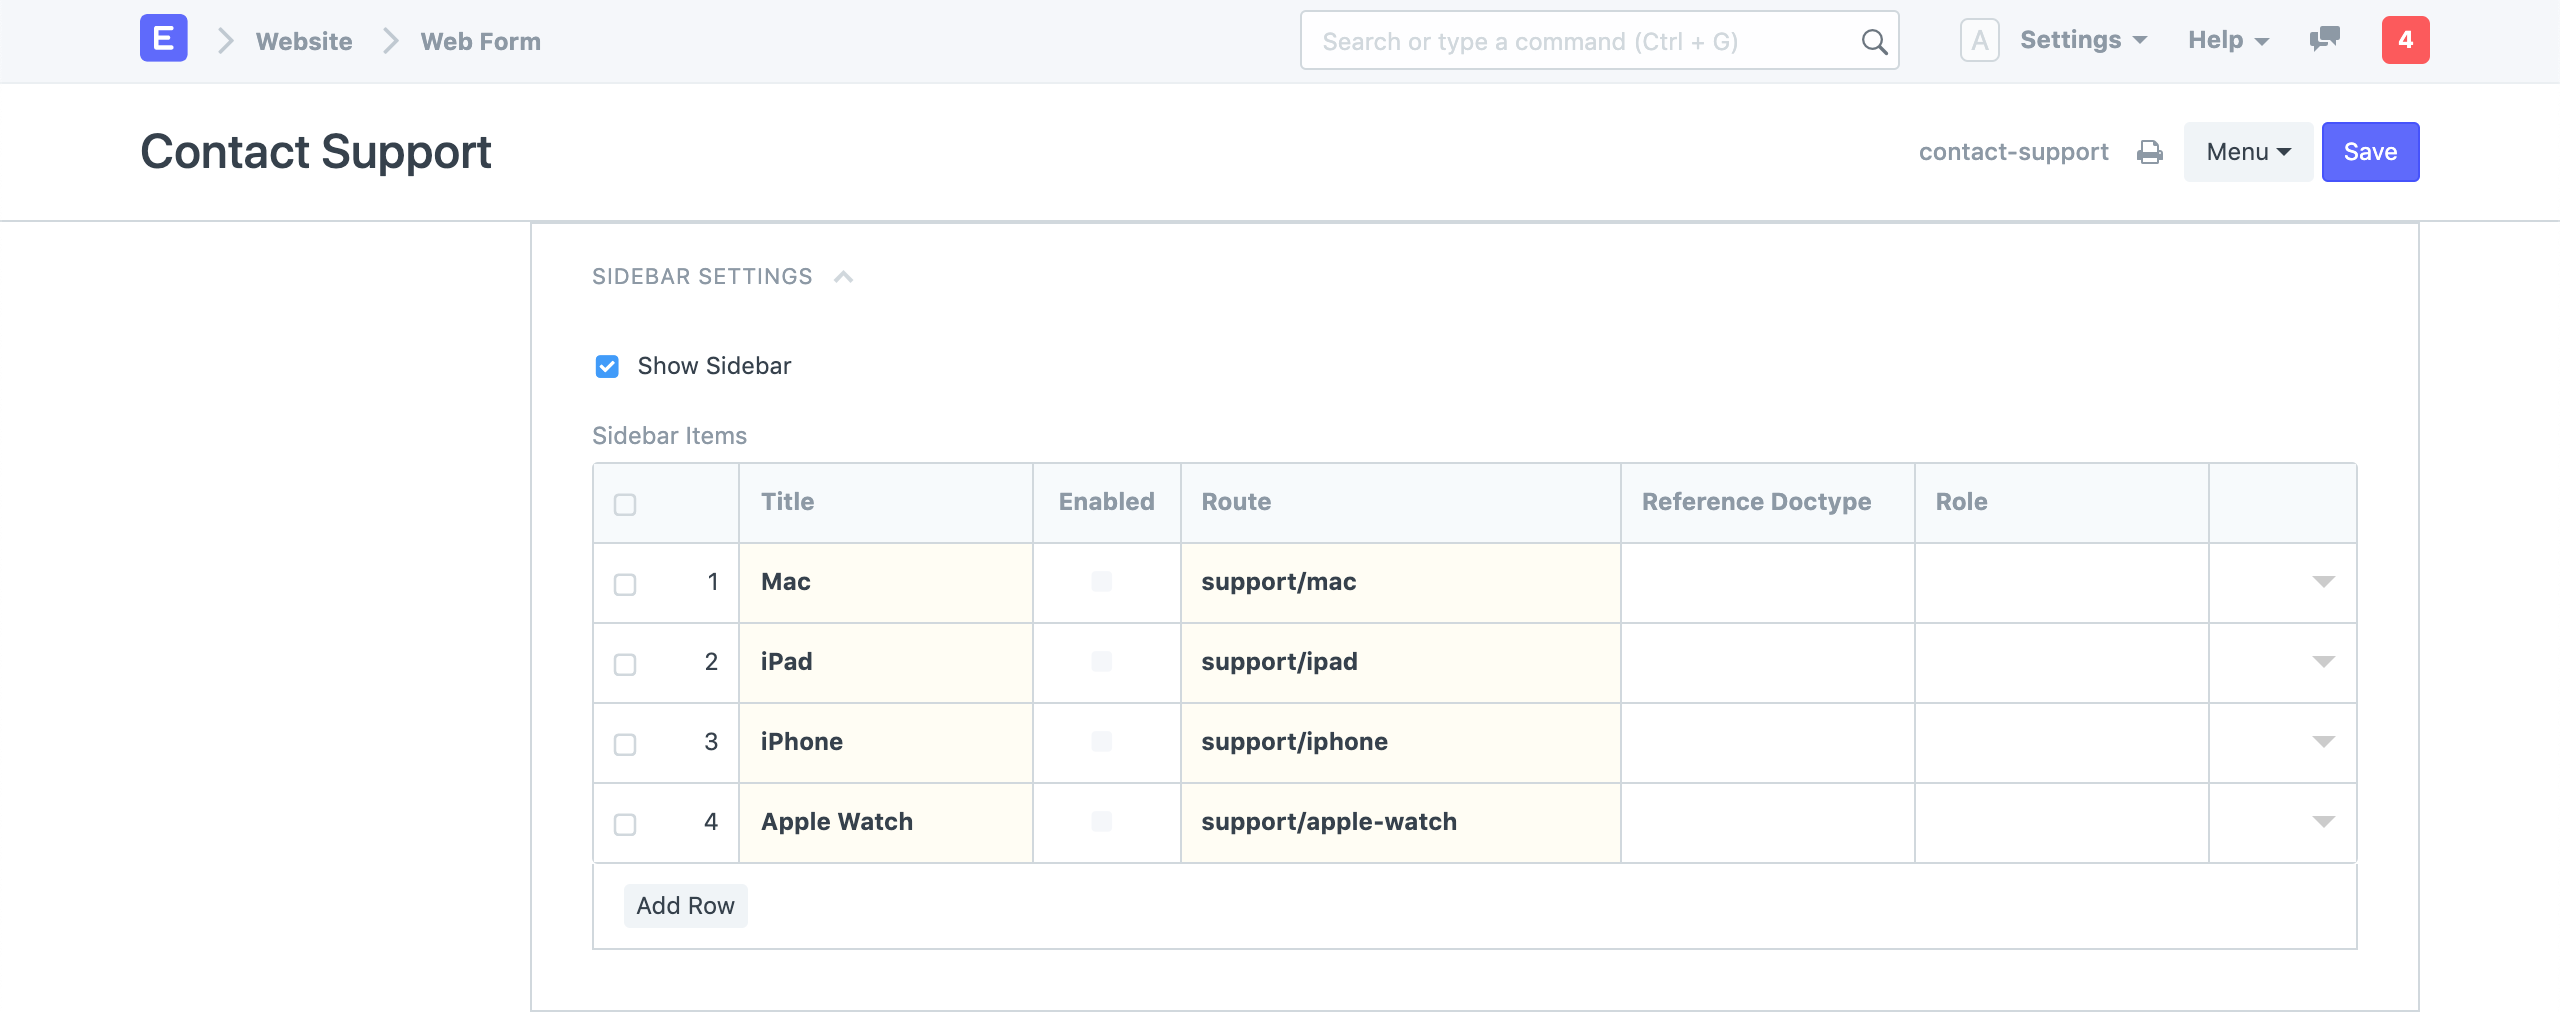
2.1 Sidebar
On your Web Form, you may also display contextual links in a sidebar. Configure it under the Sidebar Settings.
2.2 Creating Web Forms with Child Table
Like normal forms, your online forms can also have child tables.
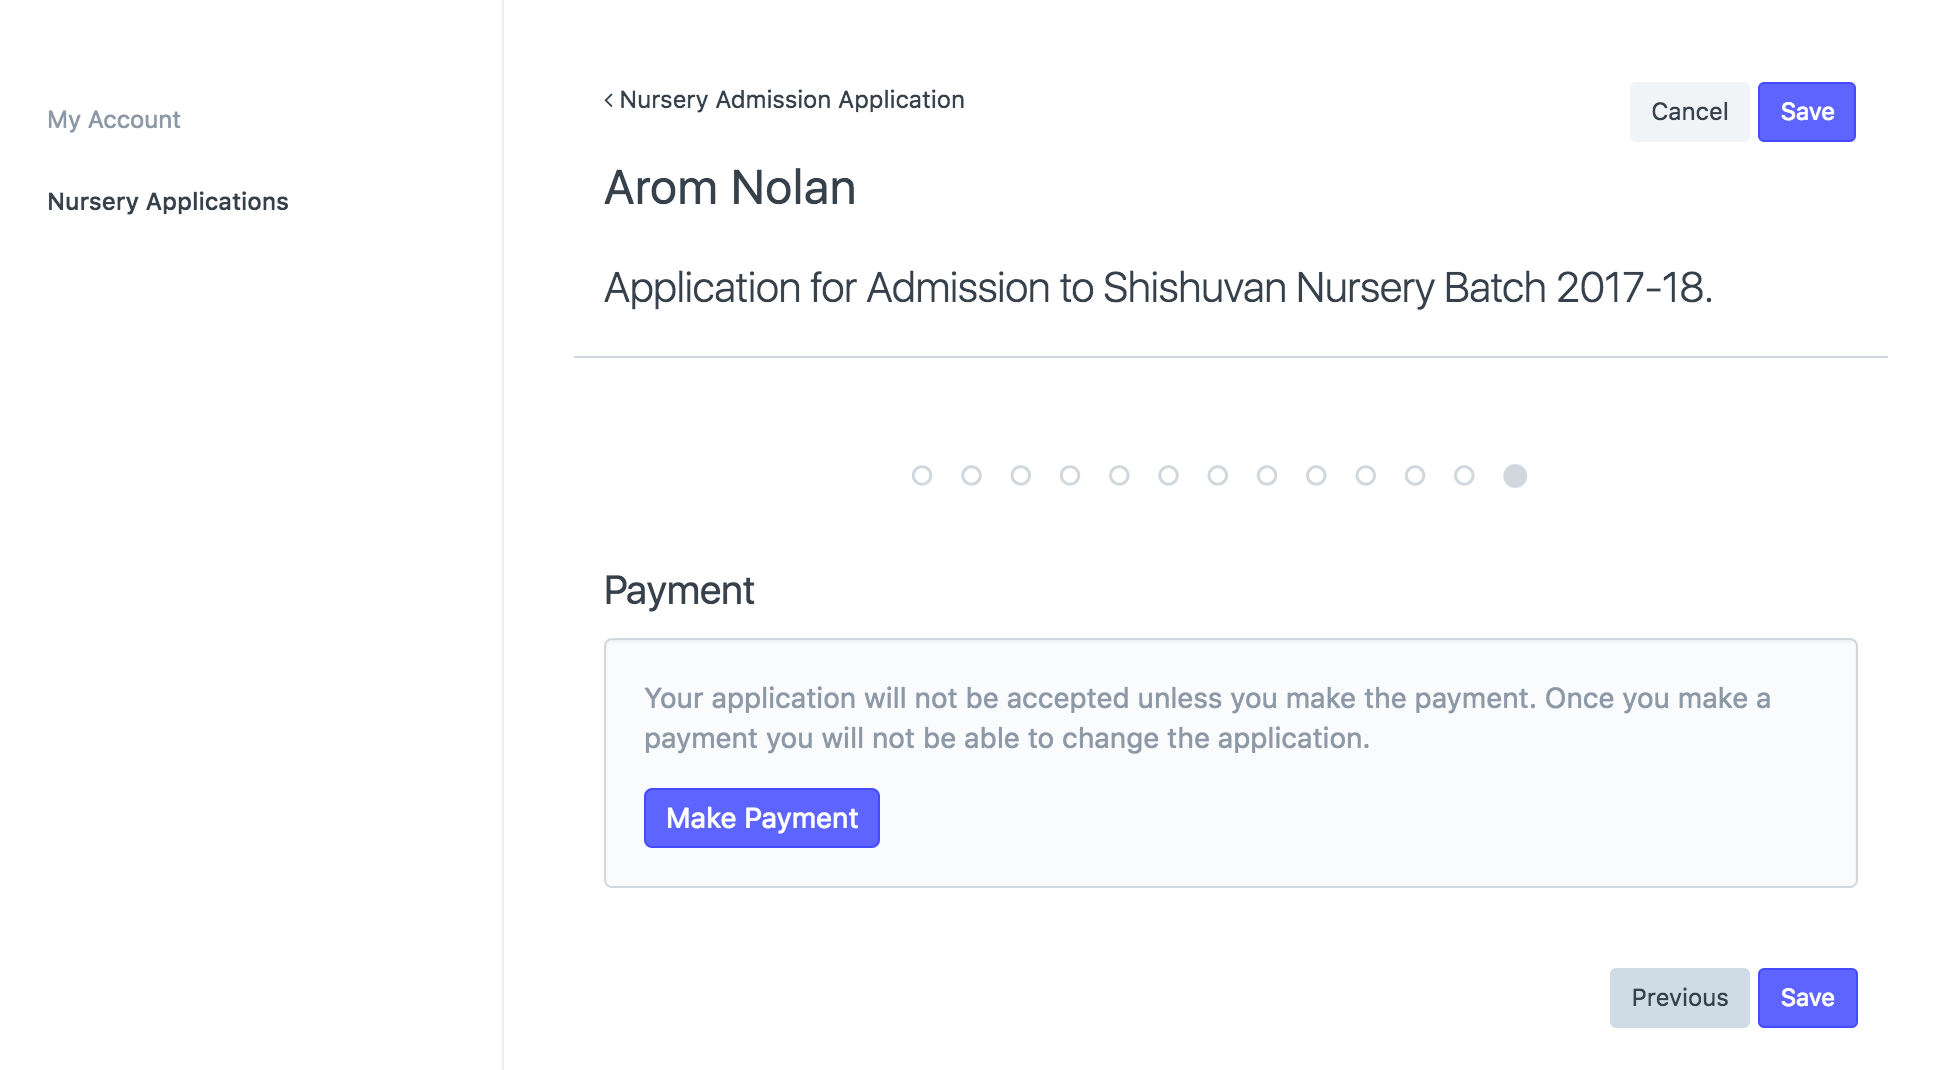
2.3 Payment Gateway Integration
Now that a Payment Gateway has been added, you can ask consumers to pay via a web form. A conference ticket is a good illustration of this.
2.4 Portal User
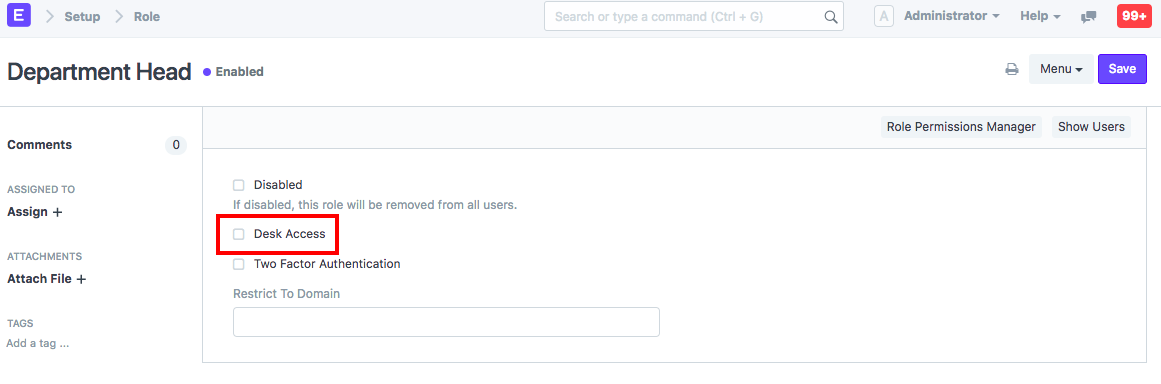
For website users, roles have also been introduced. Before version 11, a user would have access to "Desk View" if you gave him any "Role" at all. Starting with version 11, you can assign a "Role" while still preventing access to "Desk View" by deselecting "Desk Access" in the Role window.
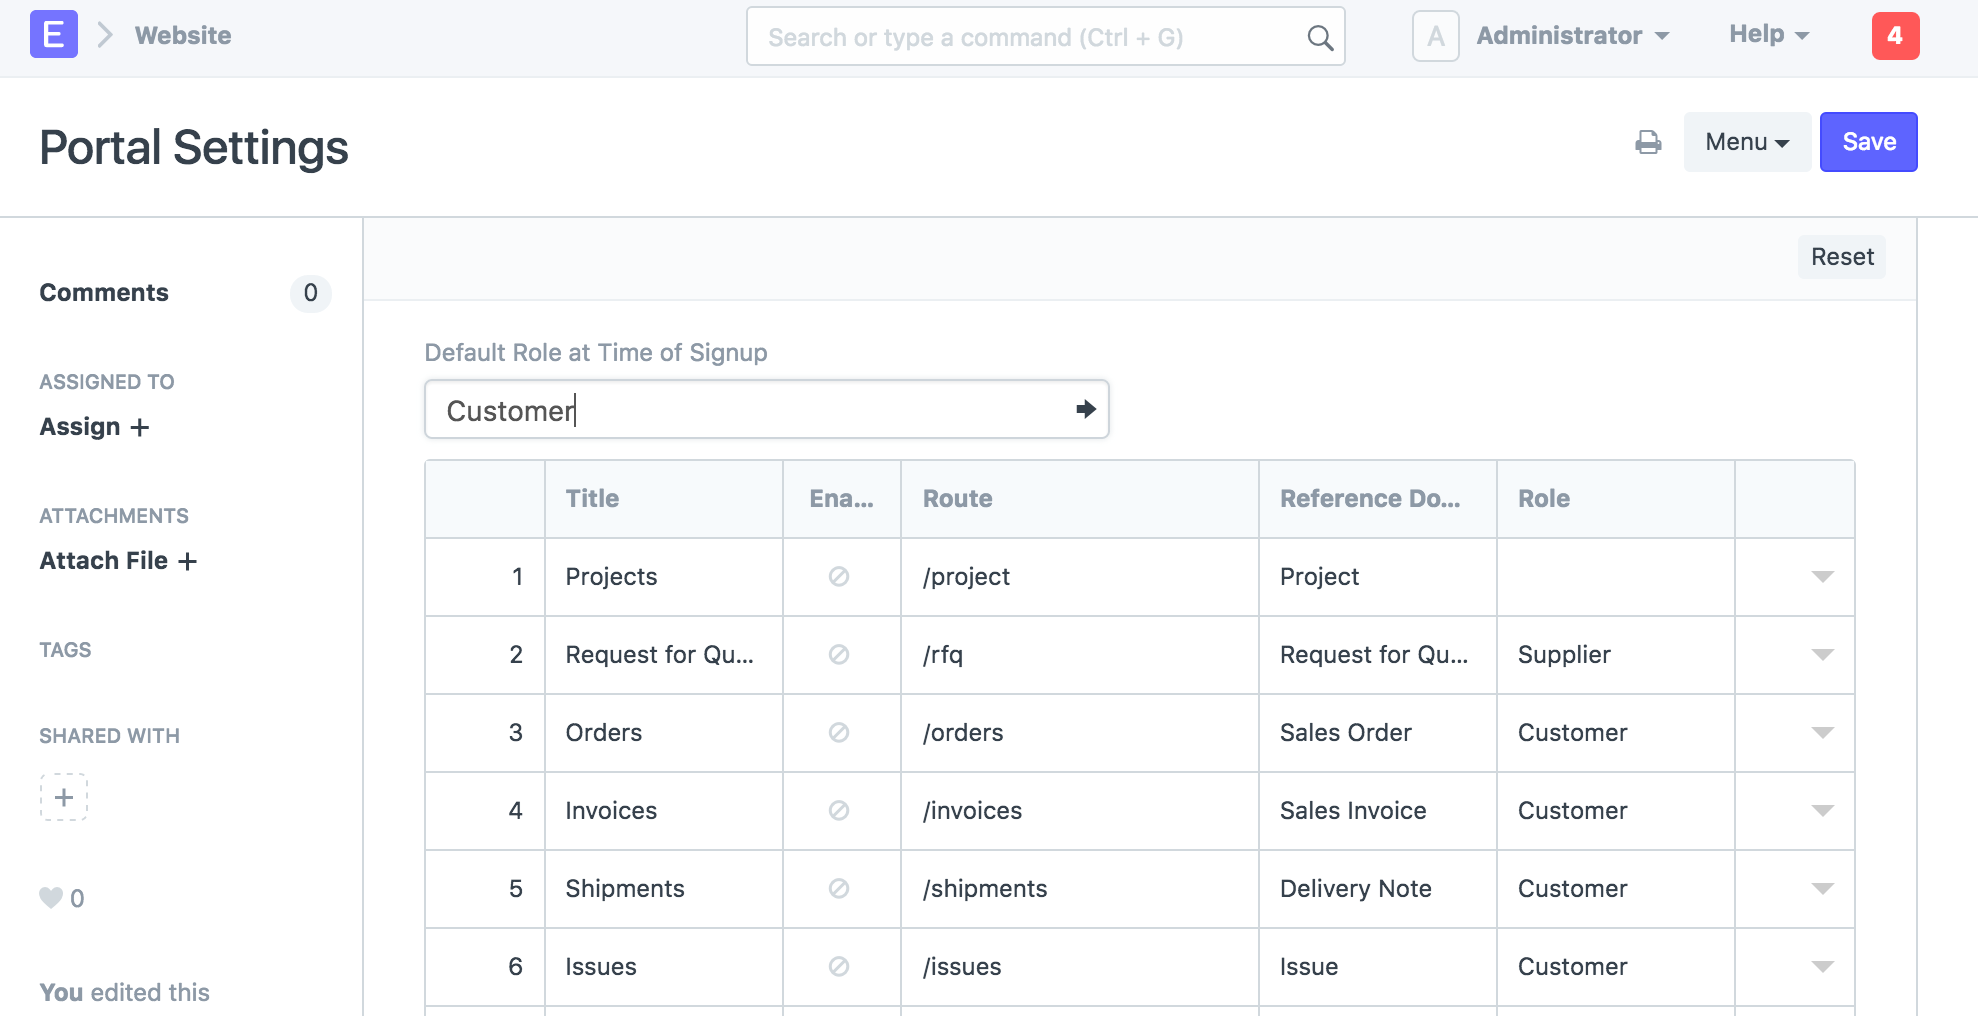
You can assign a role to each menu item in the Portal Settings so that only users who have that role are able to see that item.
2.5 Custom Script
You are able to create unique scripts for your web form that can be used for a variety of purposes, including input validation, value auto-fill, success message display, and other arbitrary actions.
Read the Custom Scripts guide to find out how to create custom scripts for your Web Forms.
2.6 Custom CSS
By creating your own Custom CSS, you can change the way your Web Form looks and feels. Go over the page's elements to see which classes are available for styling. Go here to learn more about CSS.
2.7 Actions
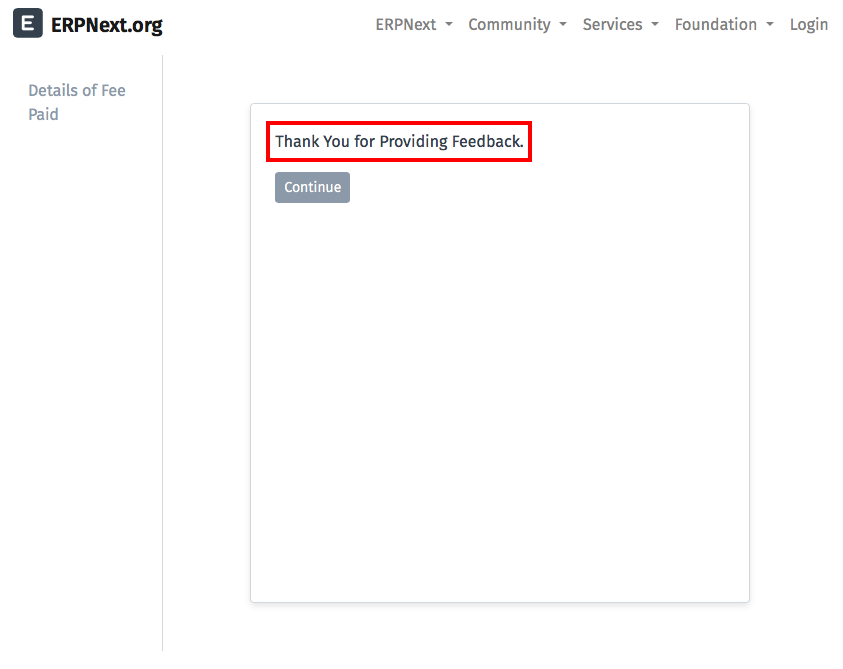
When a user successfully submits a web form, the text you enter in the "Success Message" section will be displayed to him. When the 'Continue' button is clicked, the user is taken to the URL listed under 'Success URL'. This only applies to webforms that are open to users without requiring them to log in (webforms with the "Login Required" checkbox deselected).
2.8 Result
The data is saved in the document/doctype for which the web form was developed when a user of the website submits the form.
2.9 Customizing
See the Frappe Web Forms Manual for details on modifying web forms.