Patient
Patient
The Patient document in ERPNext Healthcare refers to any person who is the recipient of the medical care you offer. It is crucial that each document has a Patient attached to it.
Making a new patient:
Home > Healthcare > Masters > Patient > New Patient
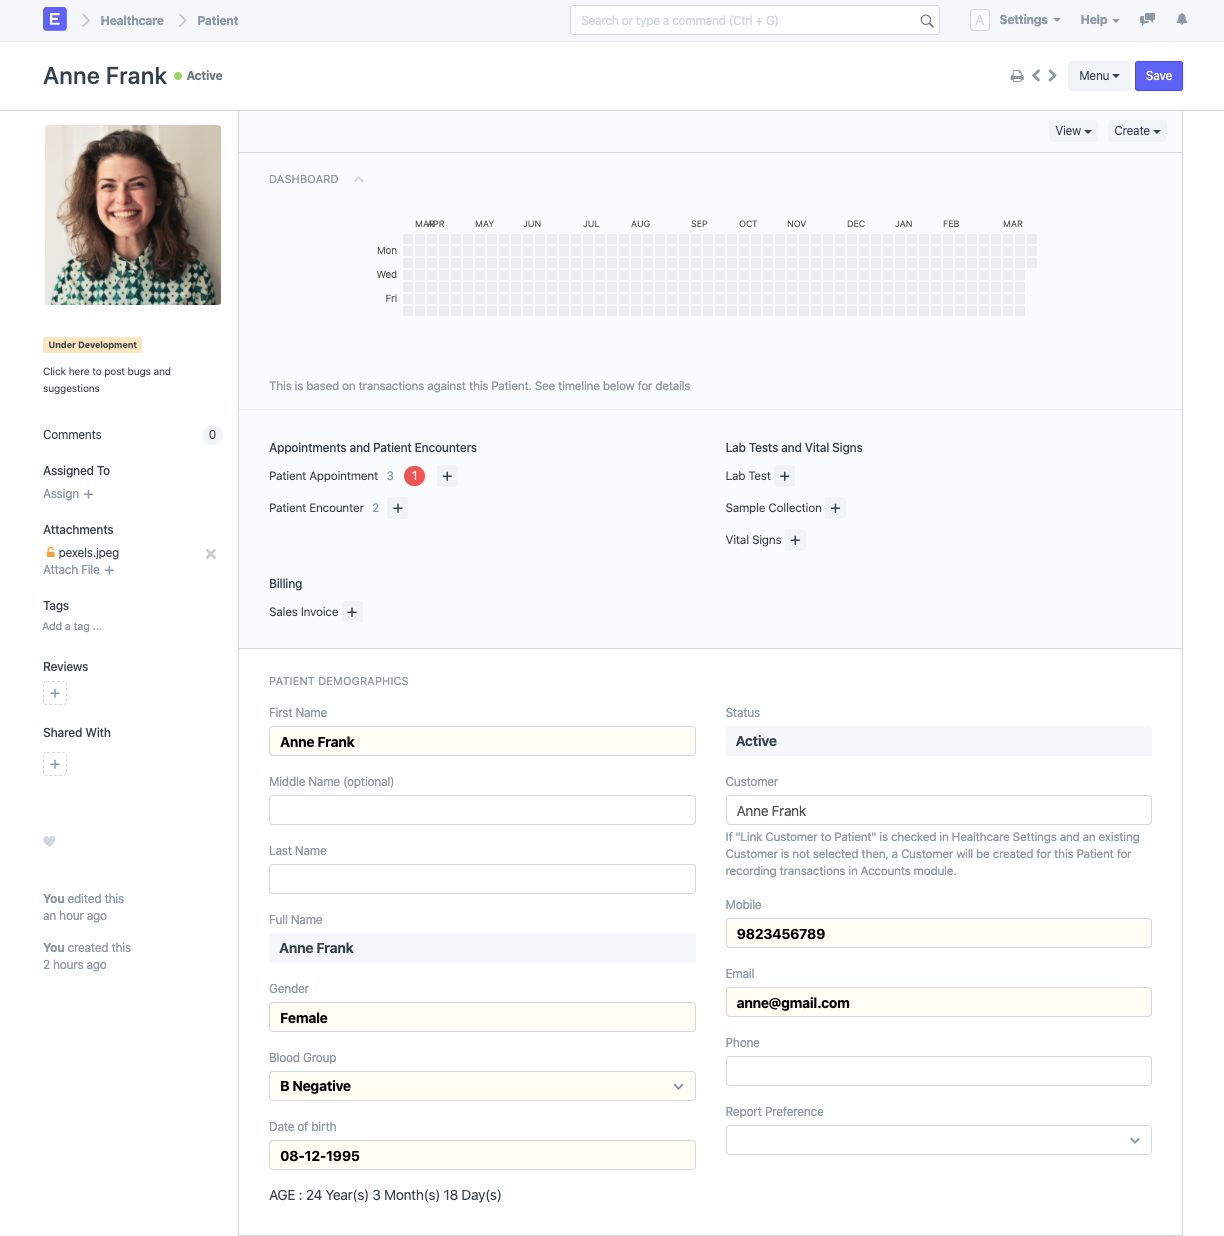
1. How to Create a Patient
Choose New from the Patient list by going there.
Enter your first name, gender, blood type, Birthdate, and other information.
the patient's cell phone number. If you have patient SMS notifications activated, this is crucial.
Enter the patient's email address.
You can create a customer and choose it here for the "Customer" field. After you save the record, a customer will be created and linked automatically if you don't pick one and "Link Customer to Patient" is enabled under Healthcare Settings.
Save.
Note: Linking a Customer to the Patient is necessary for billing and invoicing.
From the list sidebar, select "Image" view to view and change numerous patients' photographs.
2. Features
2.1 Capture History
2.1.1 Personal History
Optionally, you can record the patient's relationships with current patients as well as personal information like occupation and marital status.
2.1.2 Capture Medical History
Recording medical information including allergies, medications, medical history, and surgical history is optional.
2.1.3 Capture Risk Factors and More
Identify risk factors such as alcohol and tobacco use patterns.
2.2 Patient as a Customer
Client documents are used by ERPNext, particularly the Accounts module, to book all transactions. So, you could want to link each Patient to a Customer. By default, the system produces and associates a Customer together with a Patient. By turning off the flag "Connect Customer to Patient" in Healthcare Settings, you can stop this behavior from occurring if for whatever reason you do not intend to use the ERPNext Accounts module.
In various situations, you might want to link a number of Patients to a single Customer in order to record transactions. For instance, a veterinarian would demand that the care services for various pets that a person provides be invoiced under a single customer. In that instance, choose the same Customer during creation for all of these patients.
2.3 Registration Fee
Upon patient registration, many clinical facilities charge a registration fee. By selecting "Collect Registration Fee" and entering the desired registration fee amount in Healthcare Settings, you can enable this option.
If you choose to allow this option, all newly created Patients will initially be in the "Disabled" status and won't become active until the registration fee has been invoiced. Use the Invoice Patient Registration button in the Patient document to create an invoice and record the payment receipt.
All ERPNext Healthcare papers are screened to remove "Disabled" Patients.
2.4 Grant Access to Patient Portal
You may easily create a portal user in ERPNext Healthcare by inputting the user's email address. To "Finish" registration, a welcome email will be sent to the patient's email address.
2.5. Actions
Note: In order to display the buttons, the user must possess the necessary rights (User Role).
Use the Plus icons to add new records, or the document links on the dashboard to navigate the linked document list with the patient filter active. In addition, the Patient document gives you the option to,
Use the View > Patient History button to view the patient's medical history.
To keep track of the patient's vitals, select Create > Vital Signs.
Use the Create > Medical Record button to manually add information to a patient's medical record, such as a scanned copy of a lab test completed in an outside laboratory or a brief remark on the patient's condition.
Using the Create > Patient Encounter button to enter the encounter's specifics.
The patient document, which contains the patient's barcode, can be used to print patient identification tags using either the standard print formats or any custom print formats you design.
Version 13 Made Changes to This Form