Adding Users
The System Manager has the ability to add users. Go to: to add users.
Home > Users and Permissions > User
Users can be divided into two categories:
Customers, suppliers, students, and other website users with access to merely the portal and none of the modules. Users of the system are anyone having access to the company's modules, corporate data, etc. who uses Geer ERP.
Learn more about the distinction between a website user and a system.
A lot of information can be put under User. The information entered for web visitors is minimal for usability's sake: Name and email address.
The distinctive key (ID) used to identify Users is their email addresses.
1. How to Create a New User
- Go to the User list, click on New.
- Add an Email address and name of the user.
- Save.
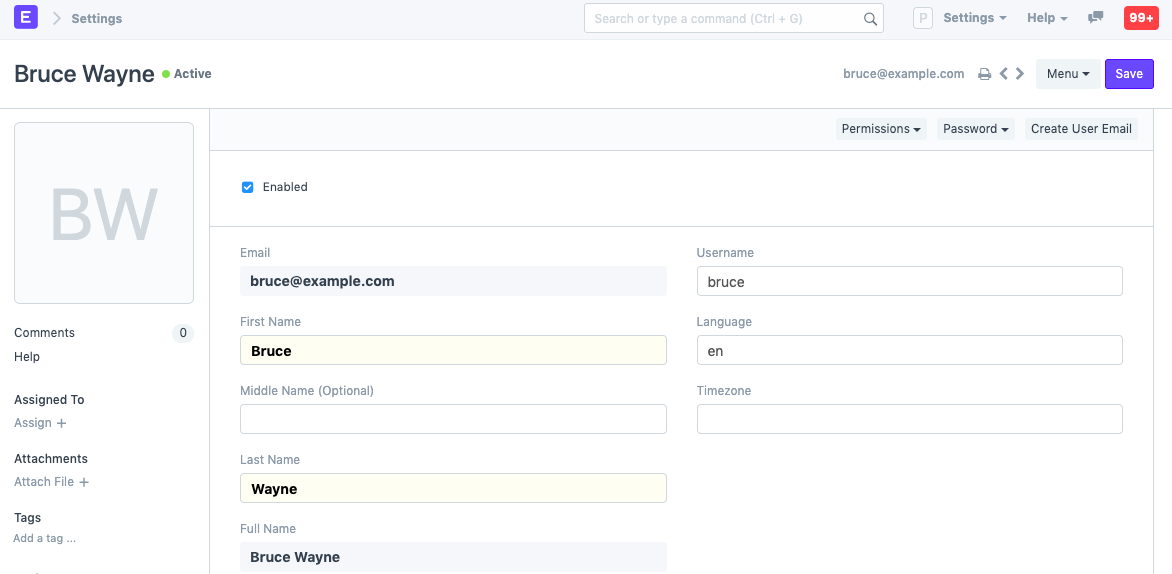
It is also possible to adjust specifics like Username and Language.
2. Features
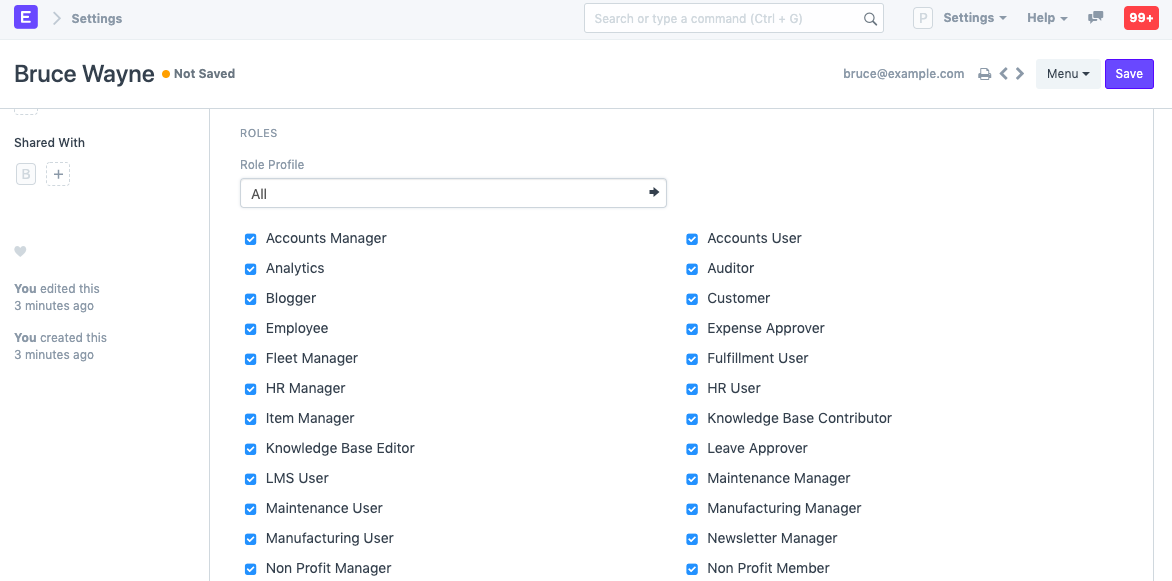
2.1 Setting Roles
You will see a list of roles with ticks next to them after saving. Simply check the responsibilities that you want the user to have and save the file. For additional information about roles and their pre-defined permissions, visit here. Role profiles can be configured to act as a template for selecting several roles at once.
2.2 More Information
From this section, you may set additional employee information:
- Gender
- Phone
- Mobile No
- Birth Date
- Location
- Interests
- Bio
- Banner Image
The "Mute Sounds" checkbox will silence any sounds that play when you interact with documents. For the changes to take effect, the user might need to click Settings > Reload.
2.3 Change Password
- Set New Password: As a System Manager, you can set a new password for the user if it needs to be changed.
- Send Password Update Notification: Send an email notification to the user that their password has been changed.
- Log out from all devices while changing Password: When changing the user's password, this logs out the user from PC and any mobile device they may have logged into.
2.4 Document Follow
You can use this option to follow different system documents and receive email notifications when they are updated. Find out more here.
2.5 Email Settings
- Send Notifications for Email threads: The user will get notifications for Email conversations that take place in document types like Opportunities.
- Send Me A Copy of Outgoing Emails: Sends the user a copy of the emails they send. This is useful for keeping track if the email got sent.
- Allowed In Mentions: Allow this user's name to appear in thread conversations so that they can be mentioned using '@'.
- Email Signature: Adding an email signature here will set it as default for all outgoing emails for the user. This is different from a footer which is set from the Company master.
2.6 Email Inbox
From this section, add the user to your company's various mailing lists. Choose the mailing list to which you want to add this person in a new row. Mailing lists, for instance, can be for jobs, assistance, sales, etc. Click here to learn more about email inbox.
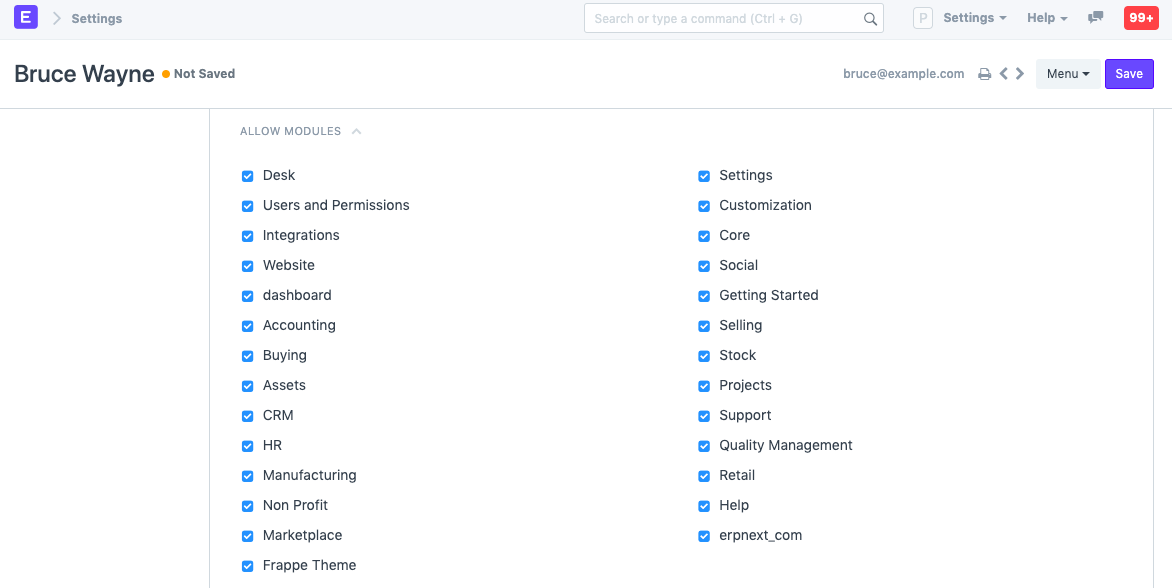
2.7 Allow Module Access
All modules to which they have role-based access will be available to users. Uncheck the modules from this list if you wish to limit this user's access to specific modules.
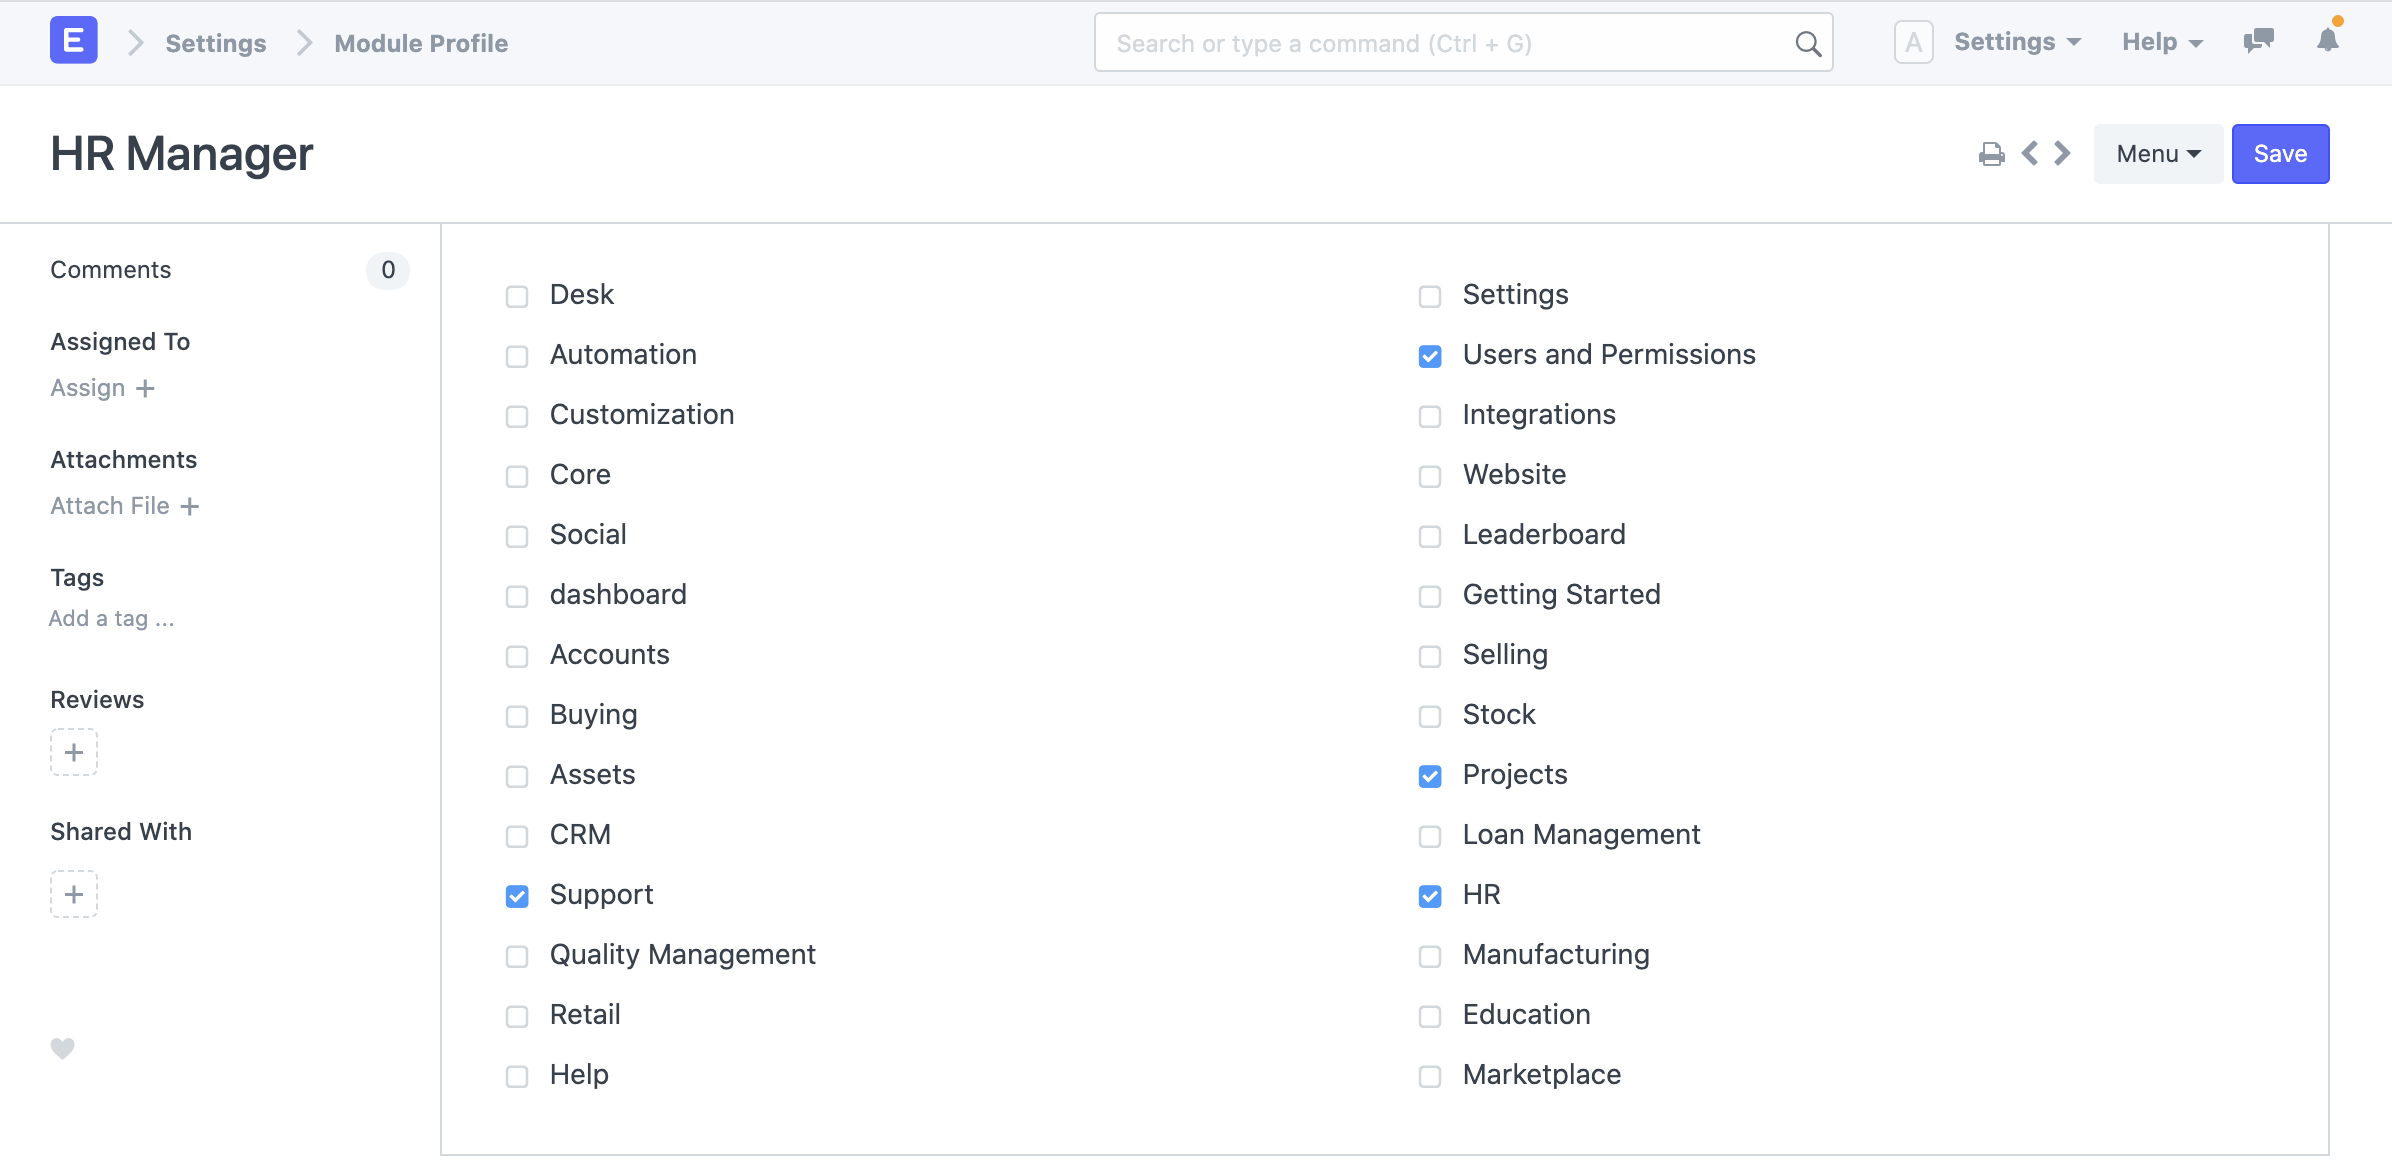
2.7.1 Module Profiles
Role Profiles serve as a pattern for organizing and choosing access to various modules. The user can then be given this Role Profile. HR users, for instance, will have access to many modules, including payroll and HR. When adding several users, role profiles are helpful in granting access to several modules at once.
2.8 Security Settings
- Simultaneous Sessions: Simultaneous login sessions the user is allowed. You can use the same set of credentials for multiple users by allowing more sessions. This can be restricted from System Settings globally. For cloud account, the total number of simultaneous sessions cannot exceed the total number of subscribed users.
- User Type: If the user has any role checked other than Customer, Supplier, Patient, or Student they automatically become a System User. This field is read-only.
- Login After, Login Before: If you wish to give the user access to the system only between office hours, or during weekends, specify it here. For example, if office hours are from 10 am to 6 pm, set the Login After, Login Before hours as 10:00 and 18:00.
- Restrict IP: Restrict user login to the IPs specified here. This can be used so that the user can log in only from office computers. Multiple IPs can be added separated by commas. Additionally, this part displays information on the user's last login, last IP address, and last active time.
2.9 Third Party Authentication
Users will be able to log in using Facebook, Google, or GitHub as a result. Create a developer account with Facebook, Google, GitHub, etc. to access this functionality. To get started, create an app on their console, give it a name, and specify its originating and callback URLs. Then, copy the client ID and client secret information.
Visit this page to learn more.
2.10 API Access
These buttons can be viewed on the User master's dashboard after a user has been saved.

Permissions
- Set User Permissions: Will take you to the User Permissions page of Bruce from where you can restrict Bruce's access to documents.
- View Permitted Documents: Will take you to the 'Permitted Documents For User' report for this user. Here you can see which documents does Bruce have access to. For example, on selected Sales Order, the list of Sales Orders Bruce has access to will be displayed
Password
- Reset Password: An email with instructions to reset the user's password will be sent to the user's Email Account.
- Reset OTP Secret: Reset OTP Secret for logging in via Two Factor Authentication.
You can create an email account for the user using the email entered in the user master by using the Create User Email function.
3. Login Methods
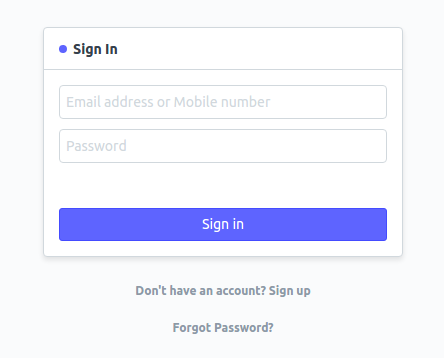
If the "Allow Login with Mobile No" checkbox is selected in System Settings' Security subsection, a mobile number can also be used to log in. A mobile number will be distinct, but it won't be used as a user ID.
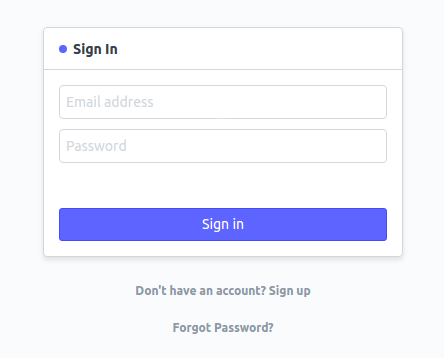
Register with Email:
Login using your email or phone:
Save the user after adding these details.