Print Settings
In Print Settings you can set your printing preferences like Paper Size, default text size, whether you want to output as PDF or HTML, etc.
Geer ERP is a web-based program, therefore your browser really executes the print command.
Go here: to change your print settings.
Home > Settings > Print Settings
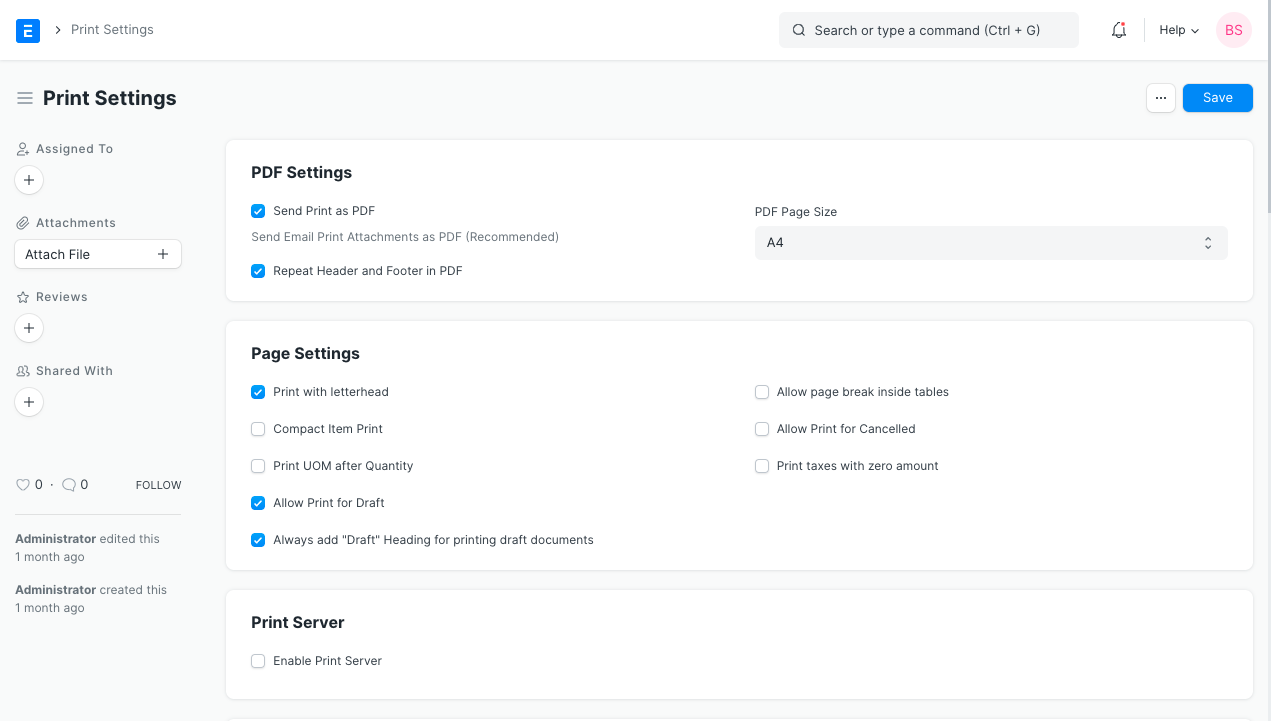
The Print Settings offer a number of customizing options. Learn more about them now.
1. PDF Settings
1.1 PDF or HTML
Any document (such as a sales order or invoice) that you send from Geer ERP is transmitted in the PDF or HTML format. By default, the file is sent in PDF format. Simply uncheck the "Transmit Print as PDF" option if you want to send a document in HTML.
1.2 Repeat Header and Footer in PDF
The standard Header and Footer, which are attached to the document's Print Format, can be defined on the letterhead as a master. Each page will have a header and a footer if this attribute is enabled. Simply turn off this setting if you don't want the header and footer to repeat on each page.
1.3 PDF Page Size
The A4 size is the standard for printing PDF documents, but you have the option of selecting any size from the alternatives listed above, including custom measurements specified in millimeters.
2. Page Settings
2.1 Print With Letterhead
When this attribute is enabled, printing a document will always check the Letter Head box. Keep in mind that for Letter Head to appear in the print view, you must either select one in the transaction or set it as the default.
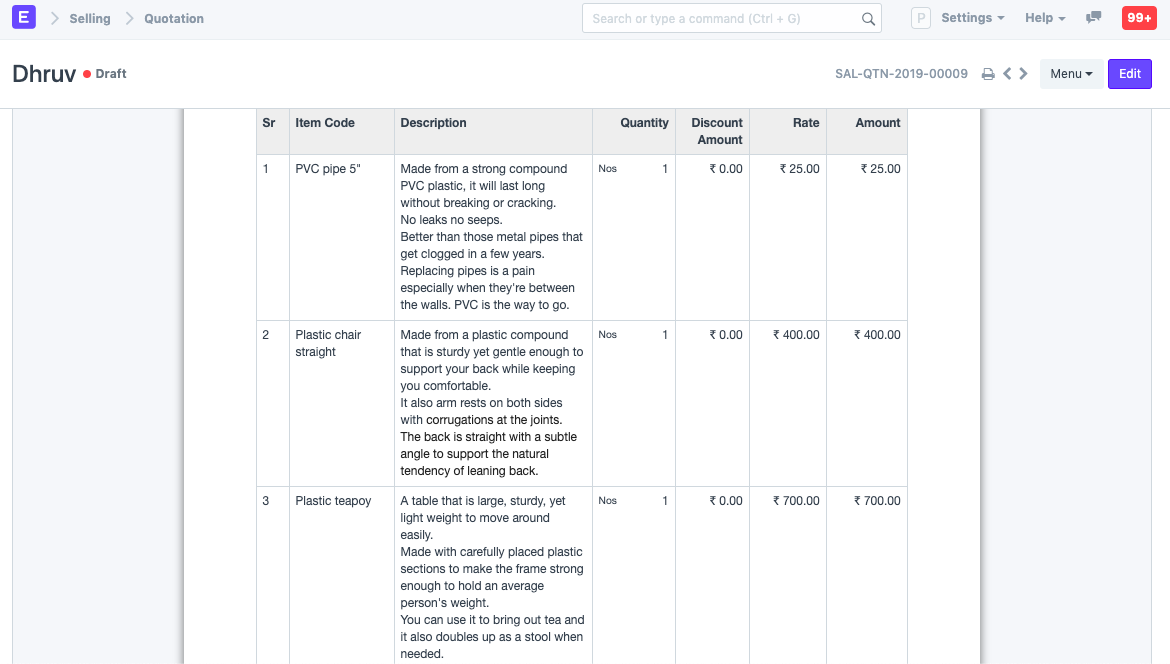
2.2 Compact Item Print
A table listing the products bought or sold is present on transactions like sales orders and invoices. Item Name, Description, UoM, Rate Amount, and other columns are among those present. The Print Format appears a little cluttered if the Item table has a lot of columns. By turning on Compact Item Print, the table's appearance can be improved.
According to this choice, the Print Format will only have four columns: Description, Qty, Rate, and Amount.
The Description column contains the concatenated values of the other columns (such as name, description, image, serial numbers, etc.).
When the checkbox is not selected, the print layout appears as follows:
The Compact Print Format appears as follows:
.png)
2.3 Allow Print for Draft
The documents (which are primarily transactions) have two authentication stages: Save and Submit. The documents that have been saved are first drafts that have not been uploaded to the system. As a result, printing of the documents is now limited. Enable this selection, nevertheless, if you want users to be able to print documents while they are still in the Draft stage.
2.4 Always add "Draft" Heading for printing draft documents
When this setting is enabled, the Print Format also prints "Draft," indicating that the shared document hasn't been fully authenticated yet.
2.5 Allow Page Break Inside Table
Enabling this setting will cause the details of an item to be divided to the next page if its description takes up more space on a page than is typical. As a result, there will be a page break after the item description, and the remaining information will be moved to the following page.
2.6 Allow Print for Canceled
The transactions that have been canceled have no effect on the reports. Enable this setting if you want to permit printing for canceled transactions. Only after it has been filed may a transaction be cancelled.
2.7 Print Taxes with Zero Amount
You can add and apply numerous taxes to an item in sales and buy transactions. In the print format, only taxes that have a computed amount are by default visible. Enable this feature if you want to print any taxes that weren't applied or had a negative tax amount.
3. Network Printer / Print Server
You can enable print server by filling the print server IP and port. Then chose the default printer.
Before enabling this feature you have to install the pycups library.
You may need first to install cups library if is not already on your system
For Debian OS Family:
sudo apt-get install libcups2-dev
For Red Hat OS Family:
sudo yum install cups-libs
After that, install pycups in the env using the command:
./env/bin/pip install pycups
This is executed from the frappe-bench directory
4. Raw Printing
You can enable raw printing and print to many supported thermal printers. Read Raw Printing to know more.