Pick List
Pick List
The products from your inventory that should be taken in order to fill orders are listed on a pick list.
This is especially helpful for shippers who have a lot of inventory, a lot of orders, or clients who place lots of Stock Keeping Unit orders (SKU). Pick lists choose warehouses based on FIFO (First-In-First-Out) availability of an item. An item that is batched requires a distinct warehouse selection. When purchasing things in bulk, the warehouse with the batch that is the closest to expiring will be chosen.
Go to: to access Pick List.
Home > Stock > Stock Transactions > Pick List
1. Prerequisites
It is suggested that you first create the following before making and using a pick list:
- Stock Item
- Warehouse
2. How to create Pick List
- Click New from the Choose List list.
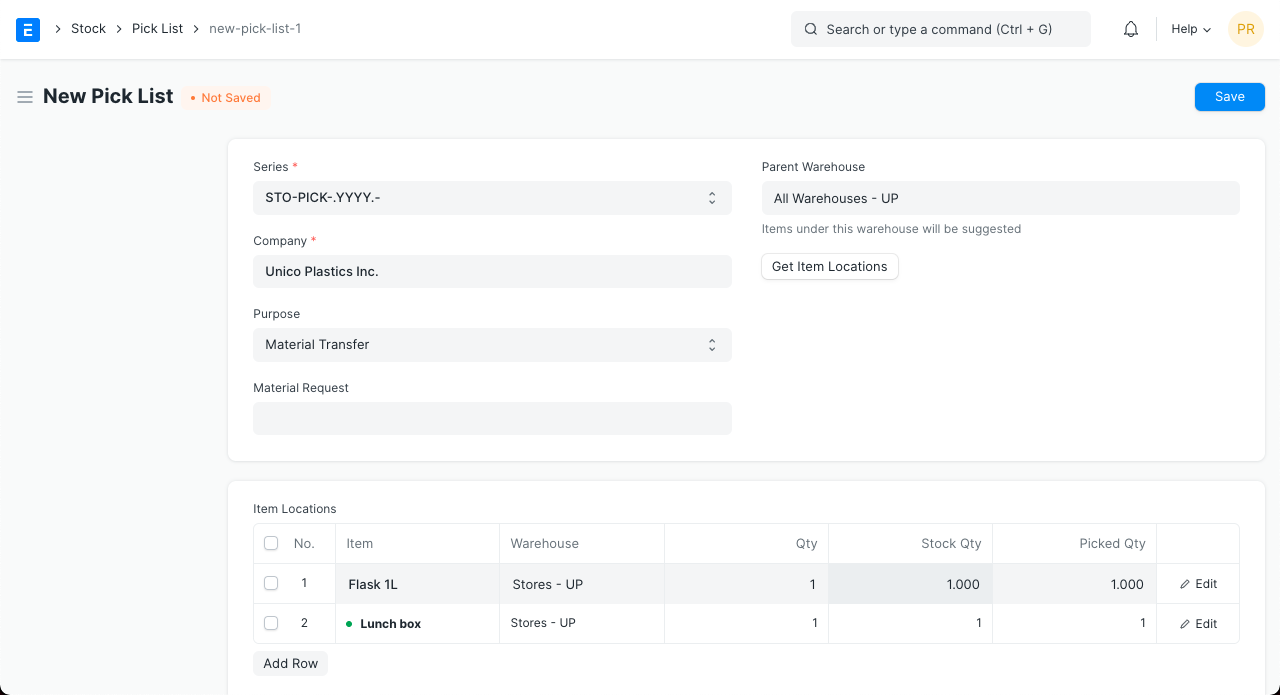
Choose the Business.
Choose the Choose List's purpose. The choices under "Purpose" are as follows:
Delivery: You can add items from a sales order to deliver using this option. A new Delivery Note can be established depending on the Warehouse from which the products were collected after the Pick List has been submitted.
Material Transfer for Manufacture: You can choose a Work Order from which raw materials will be taken for selection using this option. You will be given the option to choose how many finished products you wish to choose raw materials for. You can create a stock entry for the chosen items, or raw materials, after selecting the stock.
Material Transfer: By doing so, you'll be able to choose the Material Request for which you want to choose products. You can make a stock entry for the chosen stock after selecting it.
Add the desired amount and the item to the table under "Item Locations." To obtain the Warehouse and other information for each item, click Obtain Item Locations.
Parent Warehouse: Warehouses solely under that parent Warehouse will be suggested if a parent Warehouse is chosen.
Get Item Locations: Once the list of things to be picked is complete, you can select a warehouse by clicking the Obtain Item Locations button. This button is helpful for manually adding extra Items or changing the quantity of existing Items in the Item Locations table because Warehouse will be immediately fetched if you acquire an item from any reference document.
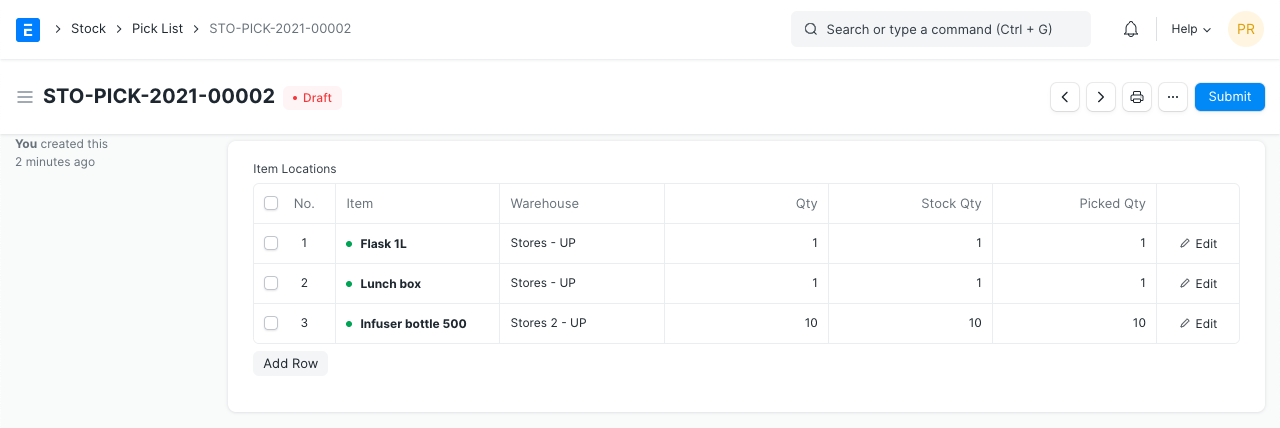
Item Locations: This will include the item's location (warehouse), the serial number for serialized products, and the batch number for things that have been packaged.
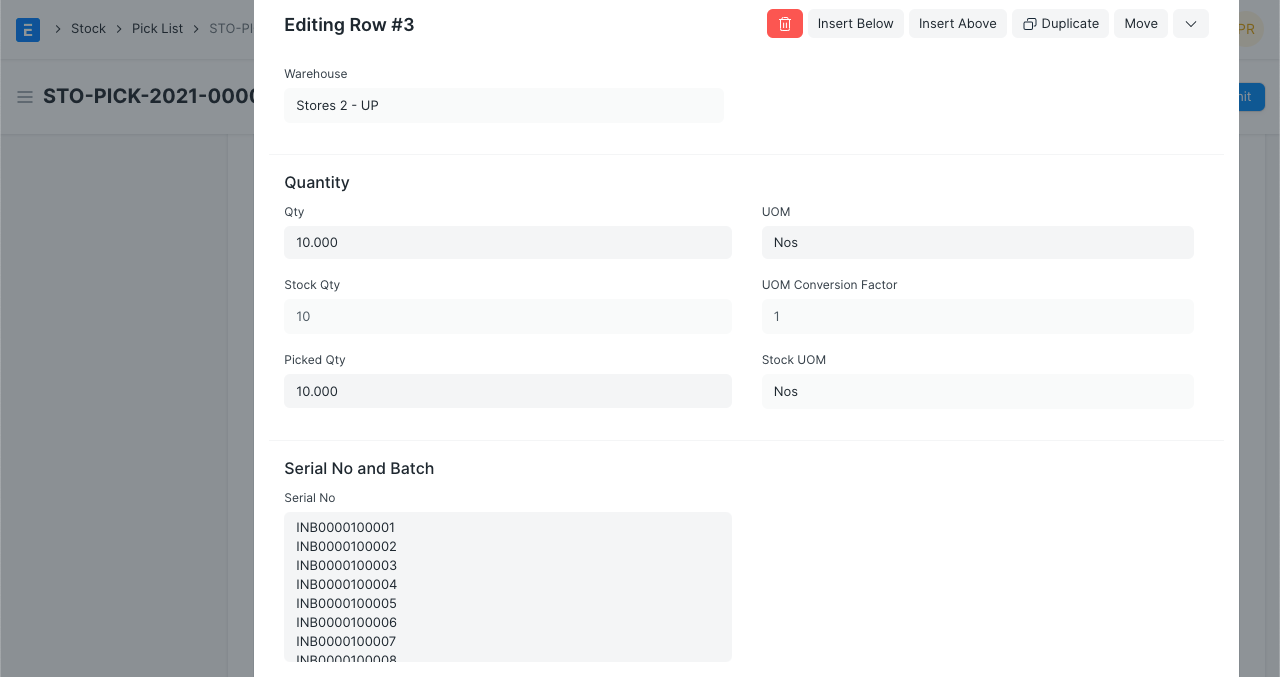
 If Serial Numbers are relevant, the Item row will resemble the following:
- Save and Submit.
2.1 Create Pick List from a Sales Order
Click on a Sales Order.
Choose List can be selected by clicking the Create button in the top right corner of the form.
All the information needed for the Pick List will be retrieved from the Sales Order after you click Pick List.
As an alternative, you can start a fresh Select List and select "Get Items." A popup of all pending Sales Orders would appear as a result.
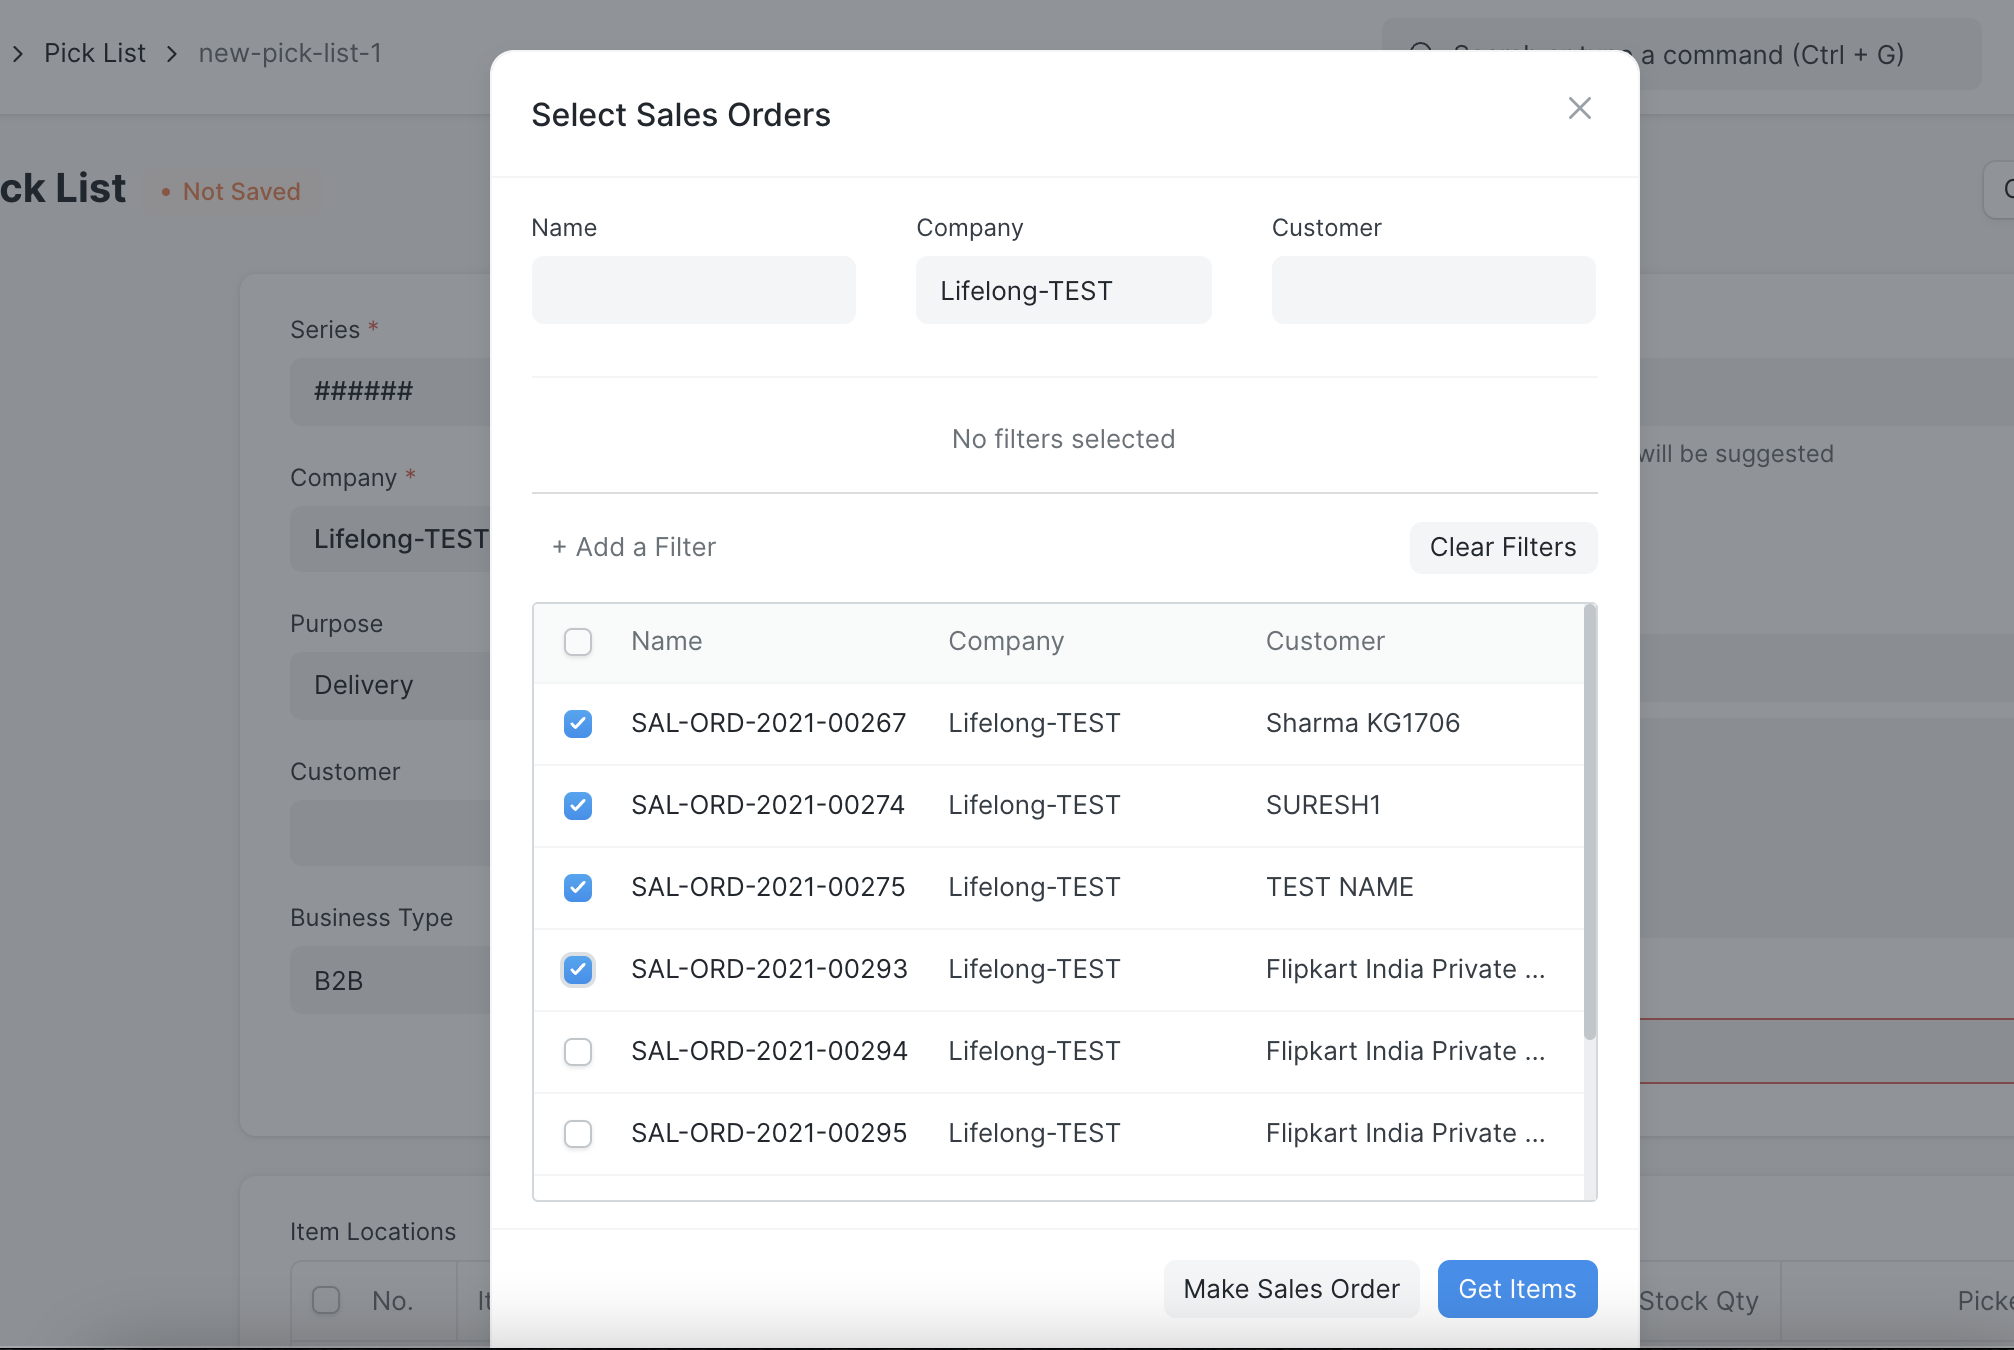
The Item Locations Table with the Warehouse specified for each item should be visible.
The individual carrying out this task should save this paper so they can utilize it for stock choosing.
Once the stock-picking process is complete and the document has been updated with the picked item quantities, submit it.
Note:* Pick list can only be created for Sales Orders which has '% picked' < 100 * A Delivery Note can be created only if the Pick List is submitted.
2.2 Create Pick List from a Work Order
See the Work Order.
Next select the Generate Pick List button.
You'll see a dialog box asking for the finished goods item's quantity. This is necessary to figure out how many raw materials are needed to produce the finished goods item in the amount entered.
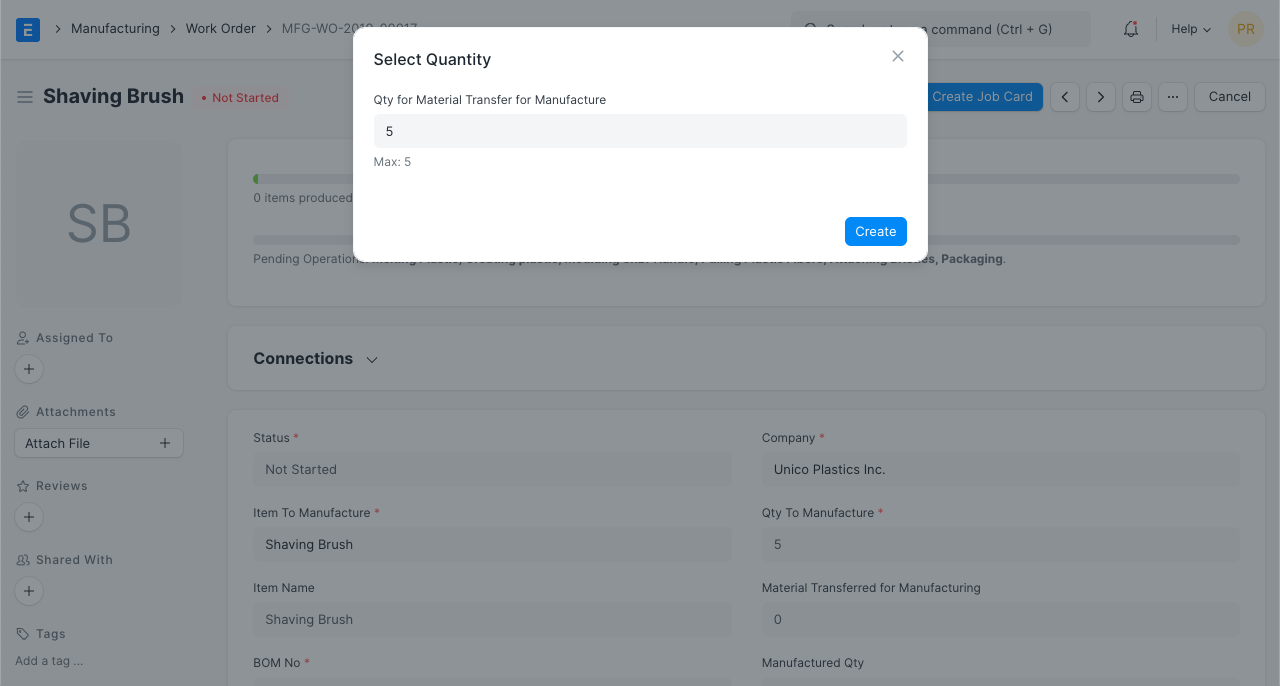
The Item locations table with the Warehouse specified for each raw material item should be visible to you.
Save this document so that it can later be sent to the person choosing the stock.
Once the stock-picking process is complete and the document has been changed to reflect the selected item, submit it.
Note: * Pick list can only be created for Work Orders that are still in the state of 'Not Started' or 'In Progress'. * A Stock Entry can be created only after the Pick List is submitted.
2.3 Create Pick List from Material Request
Visit the Material Request.
Choose the Pick List option after clicking the Create button.
The Warehouse selection for each item in Material Request should be visible in the Item Locations table.
Save this document so that it can later be sent to the person choosing the stock.
Once the stock-picking process is complete and the document has been changed to reflect the selected item, submit it.
Note: * Only Material Requests with type 'Material Transfer' can be used for Pick List creation. * A Stock Entry of type 'Material Transfer' can be created after the Pick List is submitted.
3. Features
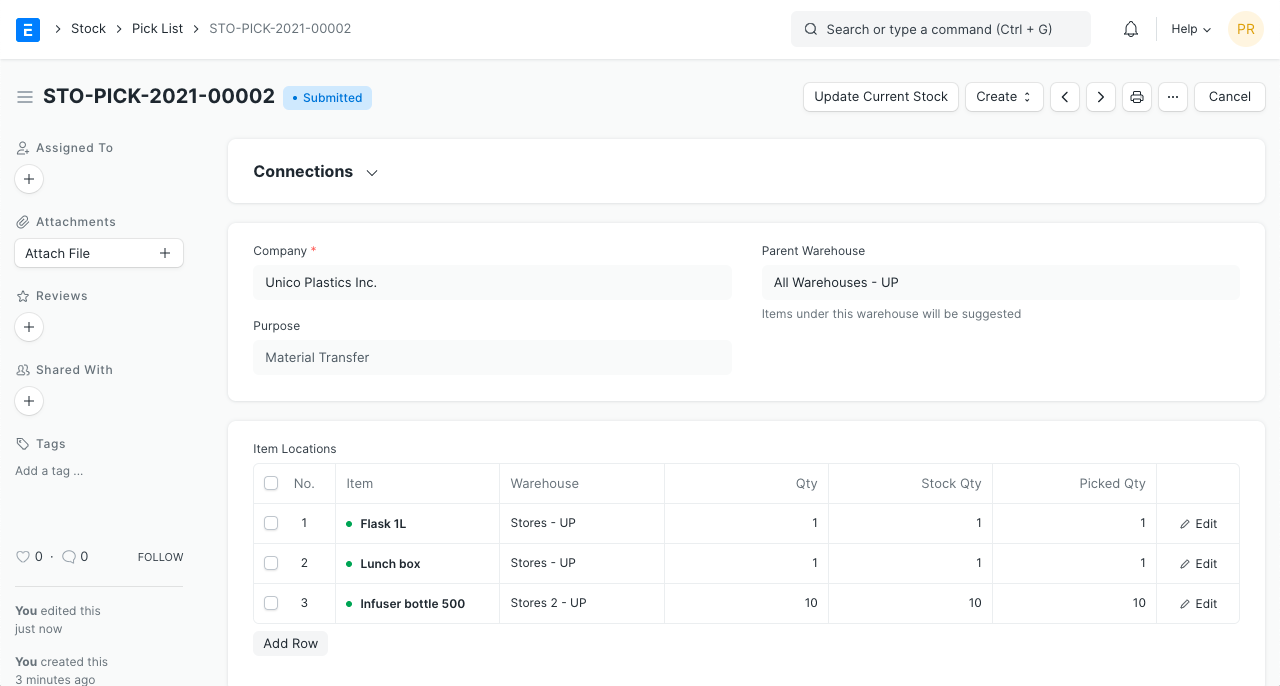
3.1. Update Current Stock
By the time a Delivery Note or Stock Entry is created against a Pick List, stock availability may have changed if it is out of date. The warehouses and quantity information in the Item Locations table will be updated when you click Update Current Stock.
Note: This button is visible as long as there are no Delivery Notes or Stock Entries against the Pick List.
3.2 Barcode Scanning
Choose list adds two check boxes and supports barcode scanning. Detect Mode and Prompt Quantity
Scan Mode: Selecting scan mode turns off the pick list's usual behavior when submitted. There will be no automatic fulfillment of the chosen quantity.
Prompt Qty: When enabled, a dialog box will ask the user to enter a new incrementing value rather than just increasing the number of scanned items by 1.